
Hi Friends and Happy Tuesday! I’m so excited to share with you a new-to-me technique and Taylored Expressions Kit!! It’s a Gel Printing Kit that includes all the things you need to get started Gel Printing fun background designs and in my case, die cuts full of color, design and texture.

KIT DETAILS:
Gel printing is a technique that uses a gel printing plate (a soft and sticky plate made out of a polymer material) and a medium, like acrylic paint or dye-based inks, to create artistic prints and patterns. Everything in this project kit was hand-selected by Gel Print expert Lydia Fiedler to get you started creating unique gel print backgrounds for your cards!

The Kit retails for $69 and includes:
- One 5″ x 7″ Gel Press Plate
- Five 4 oz tubes of acrylic paint (blue, magenta, yellow, pearl metallic white and titanium white)
- 20 sheets of Gel Print Paper (5 1/2″ x 8 1/2″)
- One 4″ Soft Rubber Speedball Brayer
- One 2 oz bottle of gel hand sanitizer (for removing paint residue from the plate)
- A hinged Storage Tin (7 1/4″ x 5 1/4″ x 1″)
Once you complete your kit purchase, you will receive an email (separate from your order confirmation email) with a link to the exclusive class video on YouTube. Watch it as often as you like and learn some great gel printing tips and tricks while discovering inspiration for more designs!
In addition to the Gel Print Kit, we are offering a new background stamp, several new stencil designs, and packages of Gel Print Paper!
TE Project Kit Inspiration
Now that you know what is all included in the Kit and Release let’s get started with some inspiration!
My Printing Process went a bit like this: Brayer on some color, add a pattern with a stencil or stamp (optional), Press, Breath and Let Perfection Go, Peel and Reveal. The Breath and letting it go before the Peel and Reveal is my best advice. Every print is original, challenging to replicate and sometimes not exactly what you were expecting. The second lesson…DO NOT THROW away your “ugly” prints because you can die-cut and scrap them into amazing designs and elements on your card fronts.
Gel PrInt Die Cuts-Stars & RainboWs with the Trendy Triangle Stencil

For my first two cards, I explored adding just color to the Gel Plate along with adding patterns using the Trendy Triangle and Diagonal Diamonds Background Stamp. For my first set of prints, I brayered on Magenta, Yellow & White (I premixed Magenta and White for a light pink before adding it to the Gel Plate with a palette knife) to the Gel Plate for my first set of prints.

I cut the bright Yellow, Orange & Pink Gel Plate prints into stars using the StarStruck Dies and used the remaining scrap of the background as my Mini Slim Card Base. I attached all the stars using Nuvo Liquid Deluxe Adhesive to a Stitched Mini Slim Stacklet. To finish the card, I added the Reach for Stars Mini Sentiment Strip that I white heat embossed to Oreo Cardstock.

For my second set of die cut print cards, I created four different Trendy Triangle prints in Blue, Purple, Pink and Yellow-Orange with the Make a Dash Stencil.

I used the Over the Rainbow Die to cut the beams from all four colorful gel press prints and adhered the rainbow beams to a white card panel. For a little extra dimension, I added a few leftover stars from the Mini Slim Reach for the Stars Card and a sentiment strip in Lollipop and White Heat Embossing from the Hello Summer Mini Strips set. To finish the card, I adhered the decorated panel to a second-general print in purples and blues.


Gel PrInt-Trendy Triangles Stars & Rainbows Supplies

Gel PrInt-Wild Willow Botanical Print
For my last card, I used the Wild Willow Stencil with Blue & White Paints. If I remember correctly, I added Blue and White to the Gel Plate and used the brayer to even out the color. Then I adhered the Wild Willow stencil to the Gel Plate, removed the stencil, added a piece of Gel Print Paper, Pressed, Breathed, *Peeled and Revealed* the beautiful blue organic pattern.

I placed the Wild Willow pattern piece under a double scallop inlay of Sugar Cube and Sea Salt Cardstock using the Inside Scallop Rectangle Stacklets. For the sentiment, I cut the Signature Thanks die from Gold Foil cardstock (+ another in white cardstock for stacking) and the Signature Thanks Backer from Sugar Cube (three times & stacked for dimension) and Vellum Cardstock. I usually added a vellum layer to the top of white card stock backers to soften it up a bit. To finish the card, with liquid adhesive I adhered the stacked White & Gold Signature Thanks sentiment to the center of the card and added the decorated panel to a Blue Corn Card base.

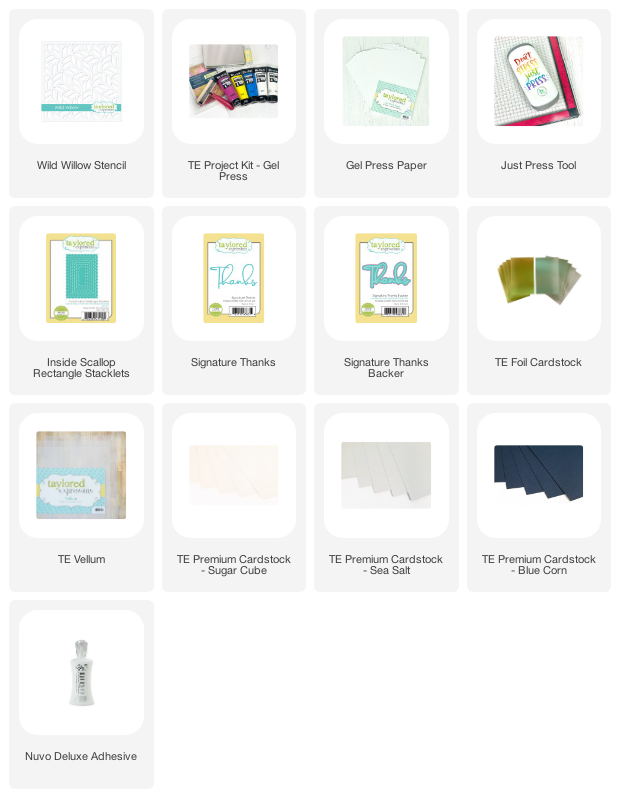
Gel PrInt Wild Willow Supplies
So there we are friends, a fun new technique using the new Taylored Expressions Gel Print Project Kit! While this technique is a little outside my clean and simple comfort zone, I really had a fun time experimenting and playing with new products and enjoying the soothing flow of the entire process.
Be sure to stop by the shop to see all the kit details and the Taylored Expressions Blog for more awesome inspiration from the entire Creative Team.
Thanks for stopping by and Big Paper Hugs!!
