Hi Friends and Happy Tuesday! If a few of your favorite things are creating beautiful packages tied up in strings, tags, home decor and handmade ornaments then you are going to LOVE the new Christmas Gifting Release at Taylored Expressions.
Today, I’m sharing several projects using the new Gable Boxes, Critter Clips, Accordion Tree Die Set and the Simple Tags Holiday Collection that makes it super easy to mass produce beautiful tags to dress up your holiday packages.
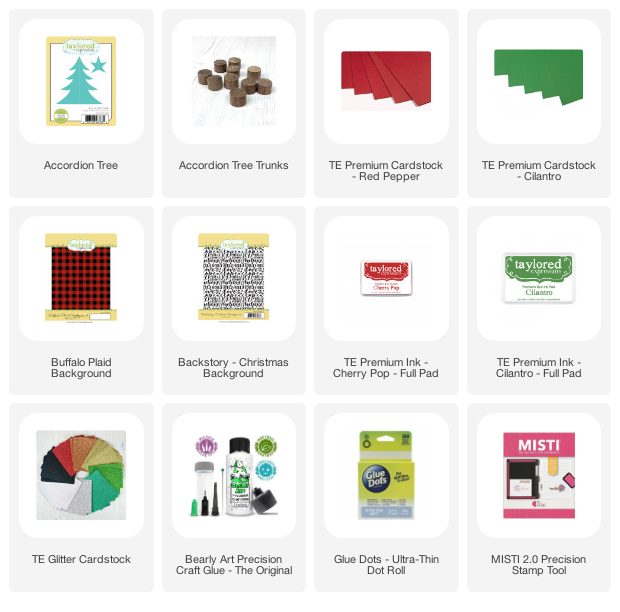
Accordion Christmas Tree Farm
Oh Christmas Tree, Oh Christmas Tree how cute are you made of paper. I can’t get over how much fun these trees are to make…perfect for plate settings, mantles and anywhere you want to tuck in some holiday cheer. To make an accordion tree, you need three die cut trees folded in half and glue together with liquid adhesive.


For a little extra holiday charm, before piecing the trees together I used my MISTI to stamp Buffalo Plaid and Backstory Christmas Backgrounds to the Cilantro & Red Pepper die-cut trees with Cilantro and Cherry Pop ink. I used TE Gold, Red & Silver Glitter Cardstock along with Cilantro and Red Pepper Cardstock for the Star Tree Toppers.

I used three folded star die-cuts for each of the trees. I used liquid adhesive to adhere the stars together and to the top of the tree. To finish the Christmas Tree decorations, I used a Glue Dot to adhere the base of the tree to the Wood Accordian Tree Trunks.

Accordion Christmas Tree Supplies
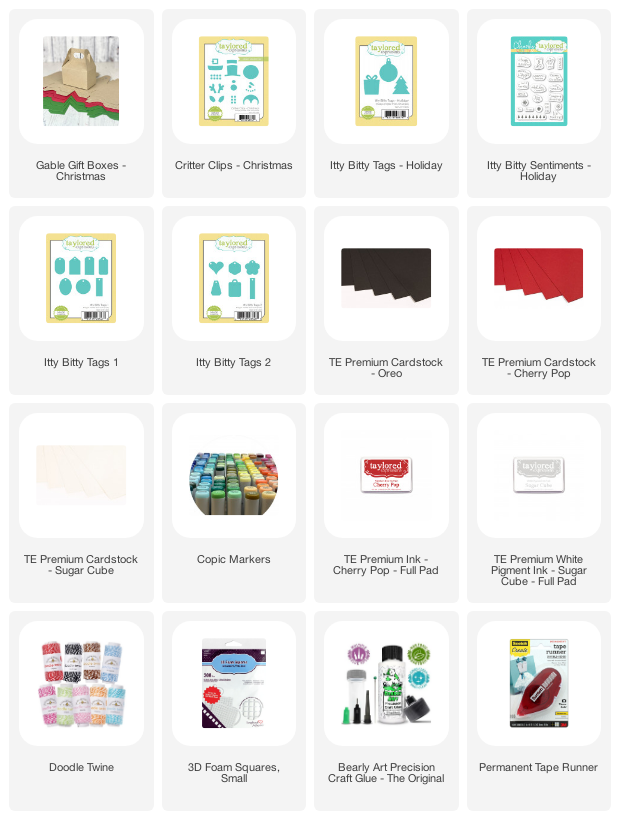
Critter Gable Boxes
The new TE Gable Boxes are such a cute little size, perfect for trinket sized handmade goodies and candies. The Gable Boxes come flat for shipping ease and require just a few folds and adhesive for your box to take shape. I decorated my Gable Boxes using the new Critter Clips-Christmas Dies and the Holiday Itty Bitty Tags & Sentiments and the Itty Bitty Tags 1 & 2 collection.

For the Green Reindeer Gable Box, I cut all of the Critter Pieces from white cardstock and used Copic Markers to color the Reindeer and then adhered all the pieces using liquid adhesive. I wrapped a red polka dot ribbon around the Gable Box and used a Foam Adhesive Square to attach the Reindeer Critter to the box. As a finishing touch, I stamped the Itty Bitty Sentiment to the Itty Bitty Christmas tree and layered it with a Red Oval Tag from the Itty Bitty 1 Collection.

For the Red Snowman Gable Box, using Sugar Cube ink I stamped the snowflakes that are included in the Holiday Itty Bitty Sentiments to a flat Gable Box. For a little extra snow, I added white dots using a gel pen. After the Gable Box was covered with snow, I assembled the box. For the Snowman, I cut the pieces from Sugar Cube, Oreo and Cherry Pop Card stock..the carrot nose & cheeks were colored with Copic Markers. I adhered the Snowman to the center of the Gable Box with Foam Adhesive. I then stamped the “Warm Wishes” sentiment to an Itty Bitty Tag, layered it with an Oreo Itty Bitty Tag and secured it to the Gable Box with Red/White Bakers Twine.


Critter Gable Box Supplies
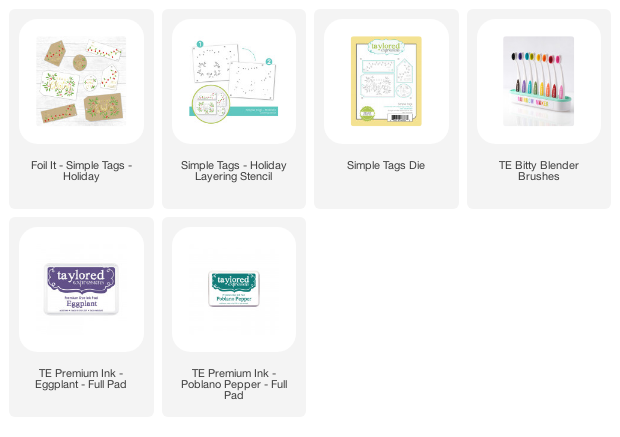
Simple Tags Holiday Collection

I can’t believe how easy it is to create colorful multiple tags at once with the Simple Tags Collection. Using the Simple Tags Holiday Layering Stencil and Itty Bitty Brushes, I applied Poblano Pepper with the first Stencil and Eggplant with the second stencil to both the Toffee & Sugar Foil it Panels. Then I cut all the tags at once using the Simple Tags Die.


Simple Tag Holiday Supplies
So there we are friends, several holiday papercrafting projects using the New Taylored Expressions Gifting Christmas Release. Be sure to stop by the Taylored Expressions shop to see the entire release along with the Taylored Expressions Blog for more Design Team Inspiration.
Plus, there’s a great New Release Promotion Happening:
When you purchase the Foil It – Simple Tags Collection (Foil It – Simple Tags Holiday – Sugar Cube, Foil It – Simple Tags Holiday – Toffee, Simple Tags Holiday Layering Stencil set, and Simple Tags die) through Sunday, October 24th, you will get a free exclusive video craft along class with Taylor!

This mini version of our Online Crafty Classes is a great way for you to put your new goodies to use right away making holiday tags at your own pace! Watch the video as often as you like and learn some new tag making tips and tricks!
Once you complete your purchase, you will receive an email (separate from your order confirmation email) with links to the class video on YouTube.
Although Taylor will recommend extra supplies (ink, foil, embellishments, etc.), you can use anything you have to make these projects uniquely yours!
Hurry! This offer is only valid through 11:59 pm (CT) on Sunday, October 24th, or while supplies last.
Thanks for stopping by and Big Paper Hugs!!