Taylored Expressions Let’s Celebrate You Card Kit Release Inspiration

Hi Friends and Happy Tuesday are you ready to Shake your Shaker Cards?! The new Taylored Expressions Let’s Celebrate You Card Kit has everything you need to create infinity shaker cards perfect for a celebration!

Let’s Celebrate You Card Kit Details

You’ll have everything you need to commemorate all the special occasions in life with our exclusive Celebrate You Cardmaking Kit! From anniversaries, birthdays and retirements to making the grade, earning a spot on the team or achieving something big, show them just how special they are with a card that celebrates that big accomplishment!

Our Celebrate You Cardmaking Kit retails for $62, comes in a zippered pouch with a custom sticker, and includes:

  • Let’s Celebrate You stamp
  • Foil it Acetate – Let’s Celebrate You panels (12 panels)
  • Mini Strips – Let’s Celebrate stamp
  • A2 Infinity Shaker Panels (5 panels)
  • Confetti Maker die
  • Mini Pot of Shaker Dots
  • A2 Envelope Pack (6 envelopes: Lollipop, Lemon Meringue, Candy Corn, Key Lime, Plum Punch, Sugar Cube)
  • Envelope Seal Pack (6 seals)

Limited quantity available
Most items are not available to purchase individually. You will be able to purchase additional envelope seals (pack of 10), additional A2 Infinity Shaker Panels, and the Mini Strips – Flags die (not included in the kit) separately.

PLEASE NOTE:
The vast majority of the individual items included in our cardmaking kits will not be available to purchase individually in the future. While we may, on rare occasions, release a kit item into our regular inventory at a later time, this will no longer be an option for the majority of the products. Instead, they will remain exclusive to the kits and may only be purchased as part of a kit while supplies last.

Since our curated cardmaking kits can sell out quickly, we encourage you to purchase the kits you love when they are released, as they will not be restocked once they have sold out. We intend to release a kit the last Tuesday of each month at 9am (Central), and a sneak preview will be posted on the TE Blog on the Saturday prior to the release.

To be notified of new kit releases, be sure to subscribe to our newsletter and follow us on Facebook and Instagram! Stay tuned for another fabulous kit next month!

So how about some Rainbow Everything Infinity Shaker Card Inspiration!

As a big fan of stripes and rainbows, I LOVE the envelope seal in the kit and had to use it as the focal point my infinity shaker card. I added 1/8 inch stripes to match the sticker and envelopes in the kit to a white card panel. I used X-Press It High Tack Double Sided 1/4 inch clear tape to adhere the acetate infinity shaker pocket to the back of the rainbow stripe panel-leaving the top open so I could pour in the Confetti shaker pieces and then adhered the top of the panel to seal the shaker panel. I added the Let’s Celebrate envelope seal to the clear shaker panel along with a black & white heat embossed Mini Strip banner sentiment.

The Let’s Celebrate Kit comes with foil acetate panels perfect for add a bit of sparkle and shine to your infinity shakers. I foiled the acetate sheet using the Mini Minc (heat setting 3 but 4 works too) with Rainbow Bright Deco Foil Transfer Sheets. Using X-Press It High Tack Double-Sided 1/8 Tape, I adhered the foiled Let’s Celebrate You panel to the from an acetate shaker pocket—to cover the adhesive I added a Stitched Frame Stacklet in Teal Glitter card stock. I adhered the acetate Infinity Shaker Pocket to white card stock Rays Pierce Cute Plate panel (keeping the top open to add in the Shaker Confetti Pieces). To create the shaker confetti, I used the confetti maker die to cut out shaker pieces in white and glitter white cardstock. I poured the confetti through the top opening along with iridescent stars and then secured the infinity shaker with double-sided tape.

So there we are friends, two rainbow everything shaker infinity cards using the new Let’s Celebrate You Card Kit. I hope you enjoyed my projects today and you’re excited to make some celebration shaker cards. Be sure to stop by the Taylored Expression Blog for more TE Creative Team Inspiration and check out the New Release Promotional Details Below. Big Paper Hugs!
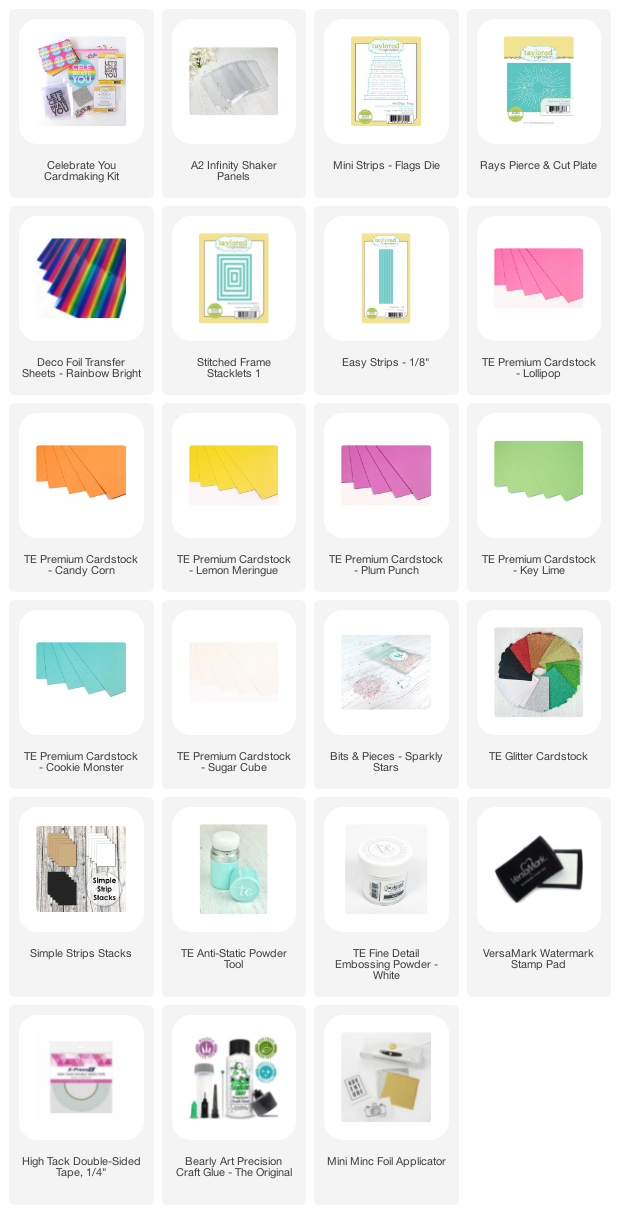
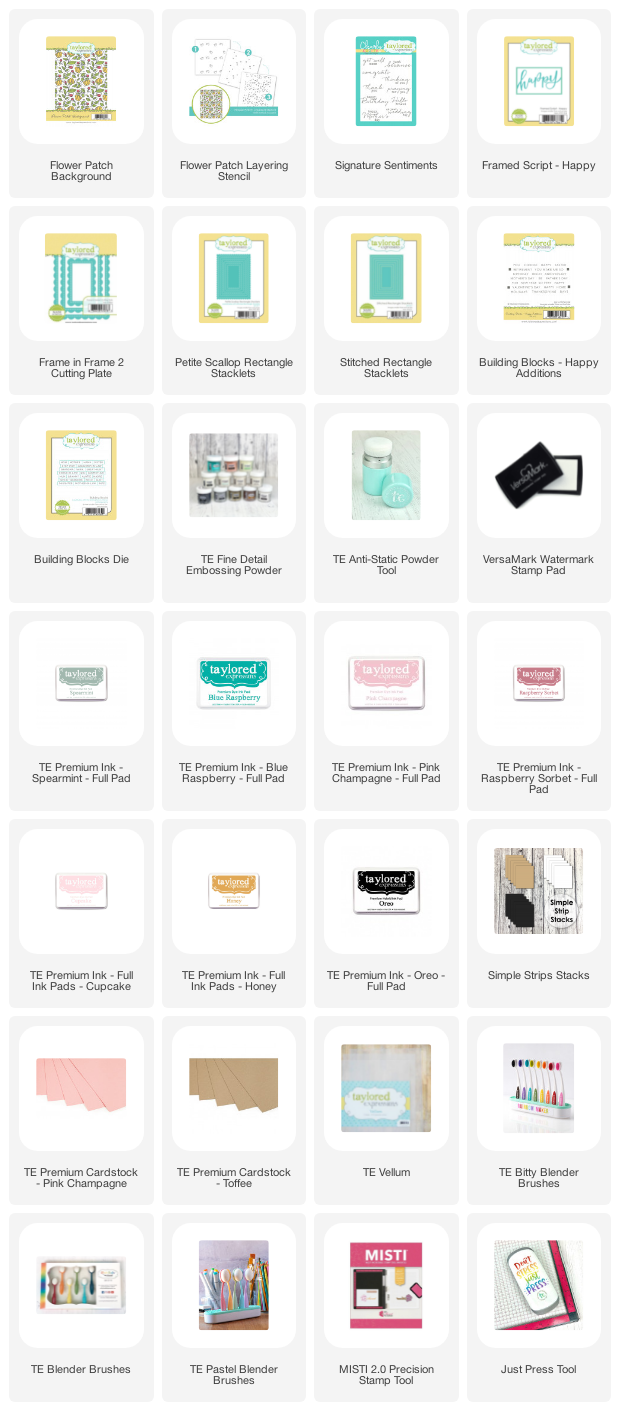
Supply list

Taylored Expressions Floral & Mother’s Day Release Inspiration

Hi Friends and Happy Tuesday! Spring has finally sprung at Taylored Expressions with the Florals & Mother’s Day Release. There are so many pretties in this release for every occasion and today I’m sharing cards using the Flower Patch Stamp & Layering Stencil, Planting Happiness Stamp & Dies and the Mini Slim Botanical Stamp and Coordinating Dies.

Planting Happiness Projects

For my Planing Happiness Mother’s Day bouquet, I stamped the floral images with VersaMark ink to Pineapple, Guava and Pink Champagne Cardstock and heat embossed with white embossing powder and the leaves in Spearmint ink.

In my MISTI, I arranged the floral images to the Pierced Circles card panel and used the MISTI Clear Alignment Panels to position the Happy Mother’s Day sentiment just below the bouquet. I removed the entire bouquet with Peel n’ Stick and stamped the sentiment with VersaFine Clair Nocturne Ink. I turned the bouquet over with the Peel n’ Stick still in place and added foam squares to the back of the flowers and leaves. Using the Peel n’ Stick I turned then bouquet over and adhered it to the panel. I then popped up the top layer of flowers with more foam tape and finished the card with iridescent gems.

For the Oh Happy Day card, I stamped the stems and leaves in Oreo Ink and adhered them to a Rectangle Scallop base layer. I attached the white heat embossed flowers at various heights with foam tape to the stems. The Oh Happy Day was stamped with VersaFine Clair Nocturne Ink, embossed with clear embossing powder and cut out using the coordinating word dies.

Planting Happiness Supplies

Flower Patch Projects

It’s hard for me to just create one color combination when I’m using Background Stamps with Layering Stencils, so I always start by creating several background images in different ink colors or heat embossed outline colors. To speed things up, I use the pre-cut Simple Strip Stacklets as they are the perfect size for background stamp images.

For my cards, I used an Oreo and Copper Embossed stamped background and all the same Pink Inks but for the Oreo background I used Spearmint and Blue Raspberry for the leaves with hints of Honey for the little buds.

The Happy Birthday sentiment is from the new Signature Sentiments stamp set which I stamped to the center rectangle of the Frame in Frame 2 Cutting plate. For a little extra pop of color, I used a blender brush to add Blue Raspberry Ink to the outer scalloped frame.

The Happy Mother’s Day sentiment was die cut from Pink Champagne Cardstock with a white embossed & toffee Mother’s Day from the Building Blocks-Happy Additions Set. I then layered the background panel and sentiment panel with Stitched & Scalloped Rectangle Stacklets in Sugar Cube and Vellum cardstock.

Flower Patch Supplies

Mini Slim Botanical Project

I’m so excited about the Botanical Images being sized to fit my favorite Mini Slim Card size. The Botanical images are so bold and beautiful that it makes it so easy to create gorgeous floral card designs.

I heat embossed the Botanical image in silver embossing powder and used the coordinating dies to cut out the frame which left a rectangle center piece perfectly sized for all the sentiments in the Mini Slim Botanical Sentiments Stamp Set. I adhered the silver embossed botanical image to a Blue Raspberry, Spearmint & Mint Julep ink blended stitched rectangle panel which I then adhered to layers of Sugar Cube & Toffee Cardstock & Card Base. I love how simple and elegant this card turned out with just a few stamping techniques (heat embossing & ink blending).

Mini Slim Botanical Supplies

So there we are friends, a collection of floral cards perfect for celebrating Spring and all it’s seasonal celebrations. Thanks for stopping by and be sure to check out the Taylored Expressions blog for more Creative Team Inspiration along with the Taylored Expressions Shop to check out the entire new release and new release promotion! Big Paper Hugs!

New Release Promotional Details:

When you purchase the Triple Slim In the Garden Class Collection (Triple Slim In the Garden Layering Stencil set and Clearly Crafty Signature Sentiments stamp set) through Sunday, March 27th, you will get a FREE exclusive video craft along class with Taylor and Heather! This mini version of our Online Crafty Classes is a great way for you to put your new goodies to use right away making 6 different card designs at your own pace! Watch the video as often as you like and learn some new crafty tips and tricks!

Once you complete your purchase, you will receive an email (separate from your order confirmation email) with links to the class video on YouTube. Although Taylor and Heather will recommend extra supplies (ink, cardstock, embellishments, etc.), you can use anything you have to make these projects uniquely yours!

Hurry! This offer is only valid through 11:59 pm (CT) on Sunday, March 27th, or while supplies last. After the promotion has ended, the class will be available to purchase.

Taylored Expressions Half-Birthday Create-in-Quads Celebration!

Hello Friends and Happy Tuesday!! We’re celebrating Taylored Expressions Half Birthday with the Taylored Expressions Create-in-Quads Birthday Layering Stencils!! That’s right there’s a Birthday Create-in-Quads Layering Stencil AND there’s matching coordinating dies and SO much more in this release!! 

Because I have to Rainbow Everything, I used my favorite Rainbow color palette for my four projects. I added black accents with the HAPPY, HOORAY & CELEBRATE Sentiments plus the Card/Tag bases to really help the Rainbow Colors Pop! 

Tip/Trick: Since each of the streamers, stripes & boxes are on different stencil layers, I made a color reference guide to help determine which color I should apply to each stencil. The great news is even though you may need to spend a little time planning your color order the streamers, stripes and boxes are on different stencil layers so NO masking (which saves a ton of time) is required to add in the different colors using Blender Brushes. For the color reference guide, using a piece of white scrap paper and one ink color I quickly ink blended just the hat, streamer and box panels layers. Then I wrote the color I wanted to use next to each streamer, stripe and box.  

Once I had all my stenciling complete, I went to work decorating the two A2 card panels and used the coordinating dies for the presents and party hat to create both a Birthday Tag and Mini Slim Card. I’m so excited about the Coordinating Dies…it really ups the game with what you can create and the die cuts also look fantastic pop-up with foam tape against the A2 Panel backgrounds. 

Since the Birthday Create-in-Quads Layering Stencil creates a party on paper, I had to add more celebration details to each of my projects with Sprinkles embossed layers, vellum, glitter cardstock, Bold Playful Pattern Pack Paper, Rainbow Enamel Dots and Bits & Pieces Confetti Dots & Cosmic Drip Drops. 

I seriously had SO much fun making these cards; it was definitely party time in the craft room! Thanks for stopping by and be sure to check out the Taylored Expressions Blog for more TE Creative Team Inspiration. 

AND there is a great Birthday Promotion happening!! 

Right now through 11:59PM CT, Sunday, March 20th when you make a purchase of $100 or more in the TE webstore, you will receive the Be U-nicorn Clear & Die Combo set FREE! This adorable unicorn critter floating on a cloud is perfect for sending a little magic and good luck to the special people in your life! Please note that this promotional set replaces our March incentive set during this release week. Offer valid while supplies last.

A little extra about the Unicorn Promotional Card…I used the 1/18 inch Easy Strips to create the Rainbow Magic Burst. I stamped the adorable unicorn with Oreo Ink and used an assortment of rainbow colored Copic Markers for the coloring. For the finishing touch, I stamped the hearts and stars and added the adorable unicorn with foam tape to the center of the Rainbow Magic Burst.

Supply List—Create-in-Quads Birthday