Hi Friends and Happy Tuesday! Today is Cardmaking Kit Release Day at Taylored Expressions and it’s Fa-Bee-Lous!

The Bee’s Knees Cardmaking Kit retails for $74, comes in a zippered pouch with a custom sticker, and includes:
- The Bee’s Knees Stamp & Stencil Combo set
- The Bee’s Knees die collection
- Clearly Crafty What’s the Buzz? stamp set
- Honeycomb Cluster die
- A2 Envelope Pack (6 envelopes, 2 each of: Oreo, Sugar Cube, and Honey)
- Envelope Seal Pack (6 seals)
Limited quantity available
Most items are not available to purchase individually. You will be able to purchase additional envelope seals (pack of 10) separately from the kit.
To be notified of new kit releases, be sure to subscribe to our newsletter and follow us on Facebook and Instagram! Stay tuned for another fabulous kit next month!
What’s the Buzz Tri-Fold Card

The TE Craft Kits come with envelope seals that are great for envelopes and perfect for card fronts too…and it this case the perfect fit in the center of a Mini Slim Circle Tri-Fold card. I used the Mini Slim Tri Fold Circle Template + Dies to cut out the circle windows along with a larger circle in Dijon Cardstock that I adhered the “What’s the Buzz” envelope seal.

For the bees, stamped the Bee’s Knees Background in VersaFine Clair Nocturne Ink, embossed with clear embossing powder and then colored using the layering stencils, blender brushes and Pineapple & Salt Water Taffy Ink. Then I used the coordinating dies to cut out the small and large bees.
Using the Honey Comb Cluster die, I adhered yellow (Dijon) and white honeycombs to the front, middle and back panels of the Tri-Fold card base…trimming off the edges with scissors.

I adhered the Envelope Seal to the back panel and then decorated the front and middle panels with the Bee Die Cuts and the cute “buzzing by” image + sentiments from the Clearly Crafty What’s the Buzz? stamp set.

For extra whimsy I wrapped the buzzing by image from the front Bee to the back of the card.

Bee Happy Rainbow
I used the Over the Rainbow & Rainbow Cloud Duo Die to create a bee-happy rainbow in Oreo, Lemon Meringue and Black & White gingham check. I stamped the Bee’s Background in Oreo and used the Layering Stencil and Bitty Blender Brushes to add Potato Chip, Lemon Meringue and Salt Water Taffy ink to the bees.

For a little extra dimension, I stamped Lemon Meringue ink to the top of the bee’s body using the Clearly Crafty What’s the Buzz? stamp set. Then I adhered the bees to the rainbow with Thin 3D Foam Squares. To finish the card, I added the Bee Happy sentiment and adhered the decorated panel to a Lemon Meringue card base.

Carmaking Kit New Release Promotions!

Also, right now through Sunday, July 3rd, you can get 10% off select hexagon products. All of these hexagon themed product coordinate beautifully with The Bee’s Knees Cardmaking Kit! Here are the products included in the sale:
- Honeycomb stencil
- Masking Stencils – Hexagons set
- Create-in-Quads Hexagon Layering Stencil set
- Happy Hex die collection
- Mini Slim Trifold Template + Dies – Hexagon set
- Clearly Crafty Happy Hex Add-ons stamp set
- Happy Hex Mini Slim background stamp
- Mini Slim – Happy Hex stencil
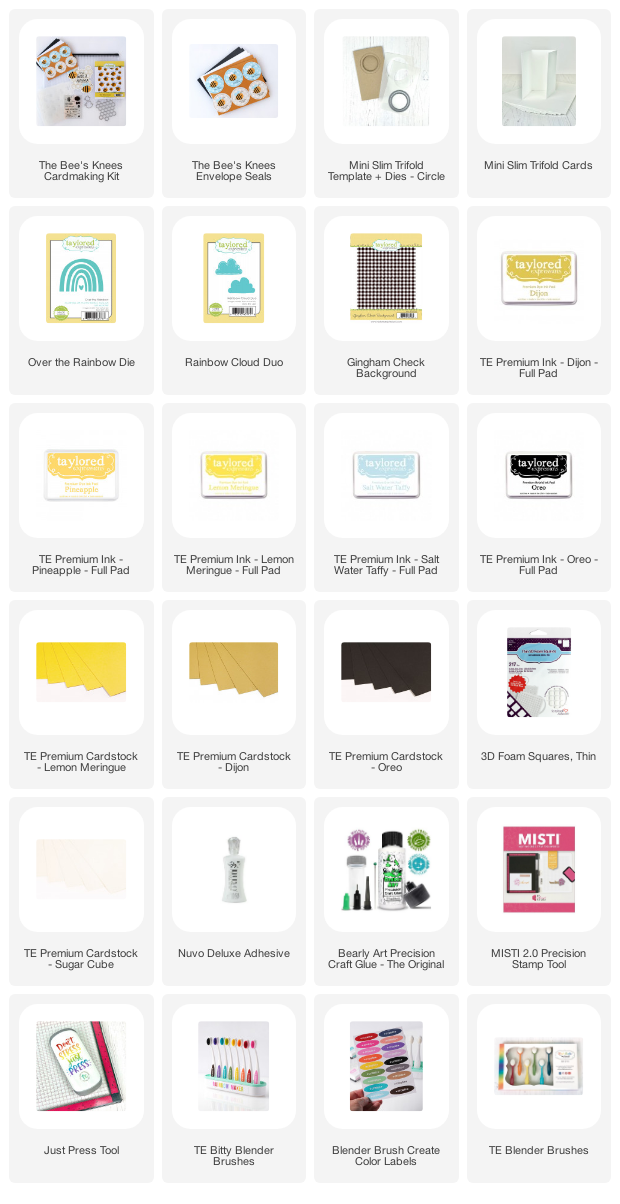
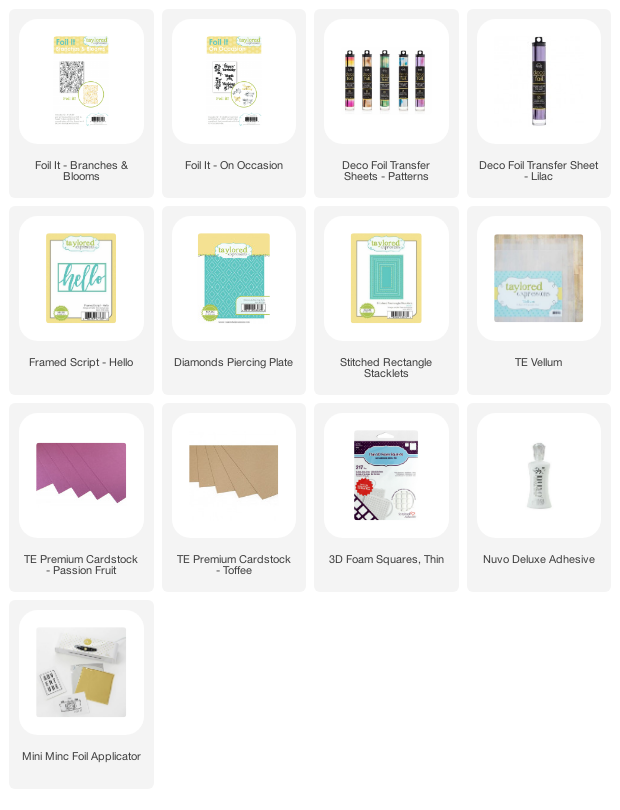
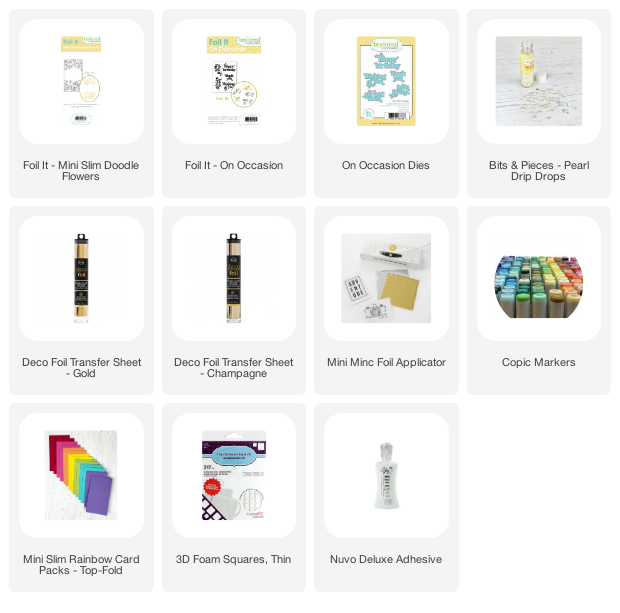
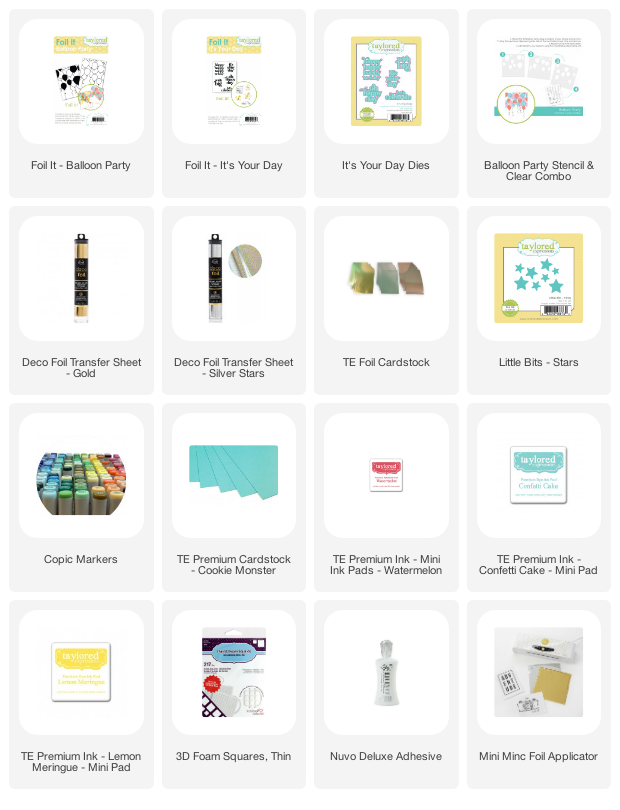
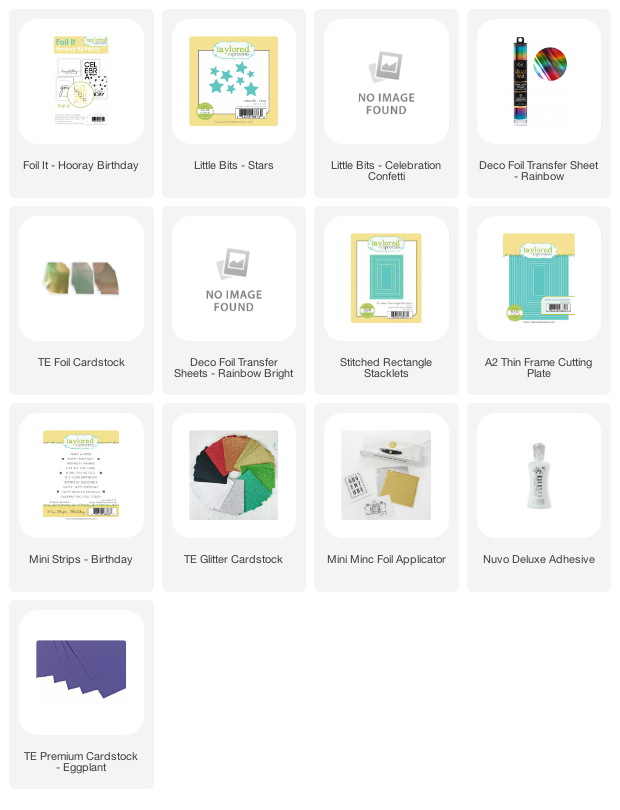
SUpplY List