Taylored Expressions Candy Cane Lane Cardmaking Kit Inspiration

Hi Friends & Happy Tuesday! Today’s the day for the release of July’s Cardmaking Kit and it’s Christmas in July with the Candy Cane Lane Cardmaking Kit! This is one of my absolute favorite Christmas-Themed Kits because (1) I Love anything Peppermint-Candy Cane (2) Holly is my favorite holiday image/decoration (3) There are Glitter Envelopes and the Perfect Envelope Seals for Card Designs & Envelopes.

The Candy Cane Lane Cardmaking Kit retails for $55, comes in a zippered pouch with a custom sticker, and includes:

  • Peppermint Kisses Stencil & Die Combo set
  • Clearly Crafty Seasonal Sentiments stamp set
  • Seasonal Sentiments die collection
  • small pot of Bits & Pieces – Peppermints
  • A2 Envelope Pack (6 envelopes, 2 each of: red glitter, silver glitter, and Sugar Cube)
  • Envelope Seal Pack (6 seals)

Limited quantity available

Most items are not available to purchase individually. You will be able to purchase additional envelope seals (pack of 10), Red Peppermint Scented embossing powder, the Sweet Stripes Cutting Plate die, and Bits & Pieces – Peppermints separately from the kit.

To be notified of new kit releases, be sure to subscribe to our newsletter and follow us on Facebook and Instagram! Stay tuned for another fabulous kit next month!

Today I’m sharing FOUR cards, all using Frames & Panels created from the Rotating Gingham Stencil in Pink & Red. I started by ink blending Watermelon Ink to Pink Champagne Cardstock with the Rotating Gingham Stencil once for stripes and one rotating turn for Gingham. Then I used the Frame in Frame and Frame and Frame 2 Cutting Plates to cute out the striped and gingham panels for the Envelope Seal Cards and the Striped and Gingham Frames for the Merry Christmas Candy Candy & Happy Holly Days cards.

Envelope Seal Candy Cane Christmas Cards

For my first two cards, I used the Envelope Seals as the focal point by adhering them to a Sugar Cube Open Scallop Circle Die Cut which I attached to the Pink & Red striped and Gingham Panels. For the Happy Holidays Card, I attached the gingham panel to a white card panel and red card base. For the Merry Christmas, I added a white scallop frame and red card base. Super Simple Cards that can be easily mass produced with lots of holiday charm.

Merry Christmas Candy Cane Card

For the Merry Christmas Candy Cane Card, I used the Peppermint Kisses Stencil & Die Combo set to stencil the Candy Canes in Watermelon Ink to Sugar Cube Cardstock and then added a layer of VesaMark Ink which I heat embossed with the yummy smelling Peppermint Red Embossing Powder (sold separately from the kit). After I heat embossed the candy canes, I used the coordinating dies to cut out the Candy Canes. I adhered the Candy Canes together with liquid adhesive and added Green Copic Colored Holly & Red Berries to the center of the candy canes. For extra pop, I added a peppermint to the center of berries and white gel pen markings. I added the Merry Christmas Sentiment from the Clearly Crafty Seasonal Sentiments stamp set to the bottom of the panel with VersaFine Clair Nocturne Ink. To finish the card, I added the Frame in Frame to a Sugar Cube card base.

Happy Holly Days Card

For the Happy Holly Days Card, using the Peppermint Kisses Stencil & Die Combo set I cut several holly and berry pieces from Sugar Cube Cardstock which I colored in Greens and Reds using an assortment of Copic Markers. I arranged the Holly & Berries Die Cuts + Peppermint Embellishments to create a fun background design and adhered all the pieces with liquid adhesive. I stamped the Happy Holiday’s sentiment from the Clearly Crafty Seasonal Sentiments stamp set with VersaFine Clair Ink and used the Seasonal Sentiments coordinating die to cut out the sentiment along with a foam adhesive backing for extra dimension. To finish the card, I added the Pink & Red Striped Frame around the end of the card and added in white gel markings for extra dimension on the holly.

I absolutely love how all of my cards turned out using the Candy Candy Lane and can’t wait to mass produce more envelope seal cards! It’s so nice to get a jump start on holiday cardmaking!

I hope you enjoyed my post today. Thanks for stopping by and be sure to check out the Taylored Expressions blog for more Creative Team Inspiration! Big Paper Hugs!

New Release Promotion

Right now through Sunday, July 31st, save 20% off of our Glitter Cardstock. Stock up on all of your favorite colors to add sparkle and shine to your holiday projects and more! Offer valid while supplies last.
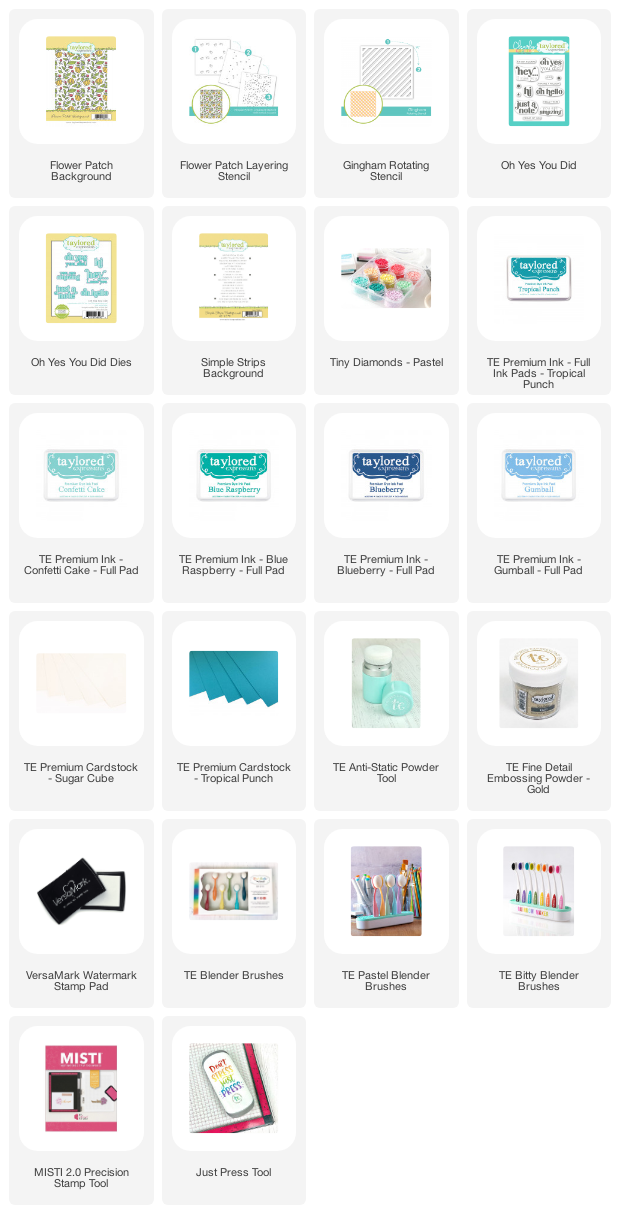
Supplies

TE Made for Me Release Inspiration

Hi Friends and Happy Tuesday! Did you know that Taylored Expressions has a special site dedicated to customized rubber stamps called TE Made for Me and they are launching several new designs to the TE Made for Me shop! Today, I’m sharing my newest personalized stamp that is THE perfect fit for my cardmaking personality…a clean and simple modern flora design and bonus the design matches one of my favorite floral background stamps: Floral Patch Background.

To showcase my new personalized stamp, I created a matching card front using the Flower Patch Background Stamp embossed in gold and stencil-colored with Flower Patch Layering Stencil. I went with a selection of blue inks (Tropical Punch, Gumball, Blueberry, Confetti Cake and Blue Raspberry) that look quite regal with the gold embossing. I added the Blueberry Just a Note Sentiment from the Oh Yes You Did! Stamp Set + Coordinating Die and trimmed the gold embossed “A note to make you smile” sentiment strip.

For extra pop, I added teal Tiny Diamonds to the Flower Patch Design. To finish the card front, I adhered the Rectangle Stitched Floral Patch panel to a Tone-on-Tone Tropical Punch Card Panel that I stenciled with the Gingham Rotating Stencil.

To add my personalization to the card, I lined-up the personalized stamp to the etched lines on a TE Stamp block and stamped my handcrafted with love message to the back of the card base in Tropical Punch Ink.

For a little extra touch, I colored in the leaves and florals to match the card front. I just love having this stamp to add that one last personal touch to my handmade cards. It’s the official mark that the card is complete and ready to send!

I hope you enjoyed my post today and it inspires you to chose a personalized stamp to add to your handcrafted with love cards. Thanks for stopping by and be sure to check out the Taylored Expressions blog for more Creative Team Inspiration! Big Paper Hugs!

New Release Promotions

Right now through Sunday, July 24th, get 50% off a personalized stamp design with the purchase of a personalized stamp design at full price. Personalized stamps make great gifts for your crafty friends and family – and for yourself too! Choose from our 15 new designs along with our previously released favorites. Note: Custom stamp designs ship in approximately 6 weeks.

Supply List

Taylored Expressions Sending Smiles New RElease Inspiration

Hi Friends! Happy Tuesday! Sending Joy has never looked better in hand-stamped envelopes, seals and washi tape from the New Taylored Expressions Release! One of my favorite parts of sending out happy mail, is decorating the envelope—either inside with an envelope liner or the outside with stamps, stickers and/or washi tape! After all the time spent on a handmade card, it’s so much fun to add that extra bit of whimsy to the outside. Today, I’m sharing a rainbow envelope set using the Gorgeous Flap Flair Stamp.

I placed the first envelope into the MISTI with the flap open, positioned the Gorgeous Flap Flair stamp to the top of the stamp lines up with the crease of the envelope. I fastened the envelope to the MISTI with a magnet, prepped the flap with the TE Anti-Static Powder Tool, used VersaMark Ink to Stamp the impression, added the white embossing powder and used a heat tool to emboss the design to the envelope. With the Stamp still in place, I rinsed and repeated this step with all the rainbow color envelopes (Lollipop, Candy Corn, Lemon Meringue, Key Lime, Cookie Monster & Plum Punch).

Tip/Trick: I place an A2 piece of cardstock into the envelope before heat embossing, for a little extra stability to hold on to while using the heat tool.

For extra happy mail decoration, I stamped several of the envelope wording images from Share Joy and Handmade with Heart with the corresponding ink color that matched the envelopes. To finish the envelope I added “Please Deliver To” on the front of each card with the matching envelope ink color.

I hope you enjoyed my post today and it inspires you to decorate your envelopes with a sweet sentiment and/or stamped design. Thanks for stopping by and be sure to check out the Taylored Expressions blog for more Creative Team Inspiration along with the Taylored Expressions Shop to check out the entire new release. Big Paper Hugs!

New Release Promotions: Right now through Sunday, July 10th, you can save 20-50% off select items related to sending out your crafty creations. Save on envelope seals, card cushions, sticky notes for inside your cards, and more! Check out the sale items in the SALE category in the TE webstore.  Offer valid while supplies last.