Taylored Expressions Christmas Release Inspiration

It’s beginning to look a lot like Christmas with the latest Taylored Expressions Christmas Release. The entire release is full of Holiday Cheer with new Stamps, Dies, Stencils, Foil it Panels & NEW GLITTER PASTE!!! I’m so excited about all the Sparkle and wait until you see the Create-in-Quads Stencils…it’s absolutely BRILLIANT and takes mass producing holiday cards to a new level! 

Today, I have 10!! projects to share with you! So let’s get started with the card inspiration shall we?!

Create-in-Quads Mistletoe Stencils
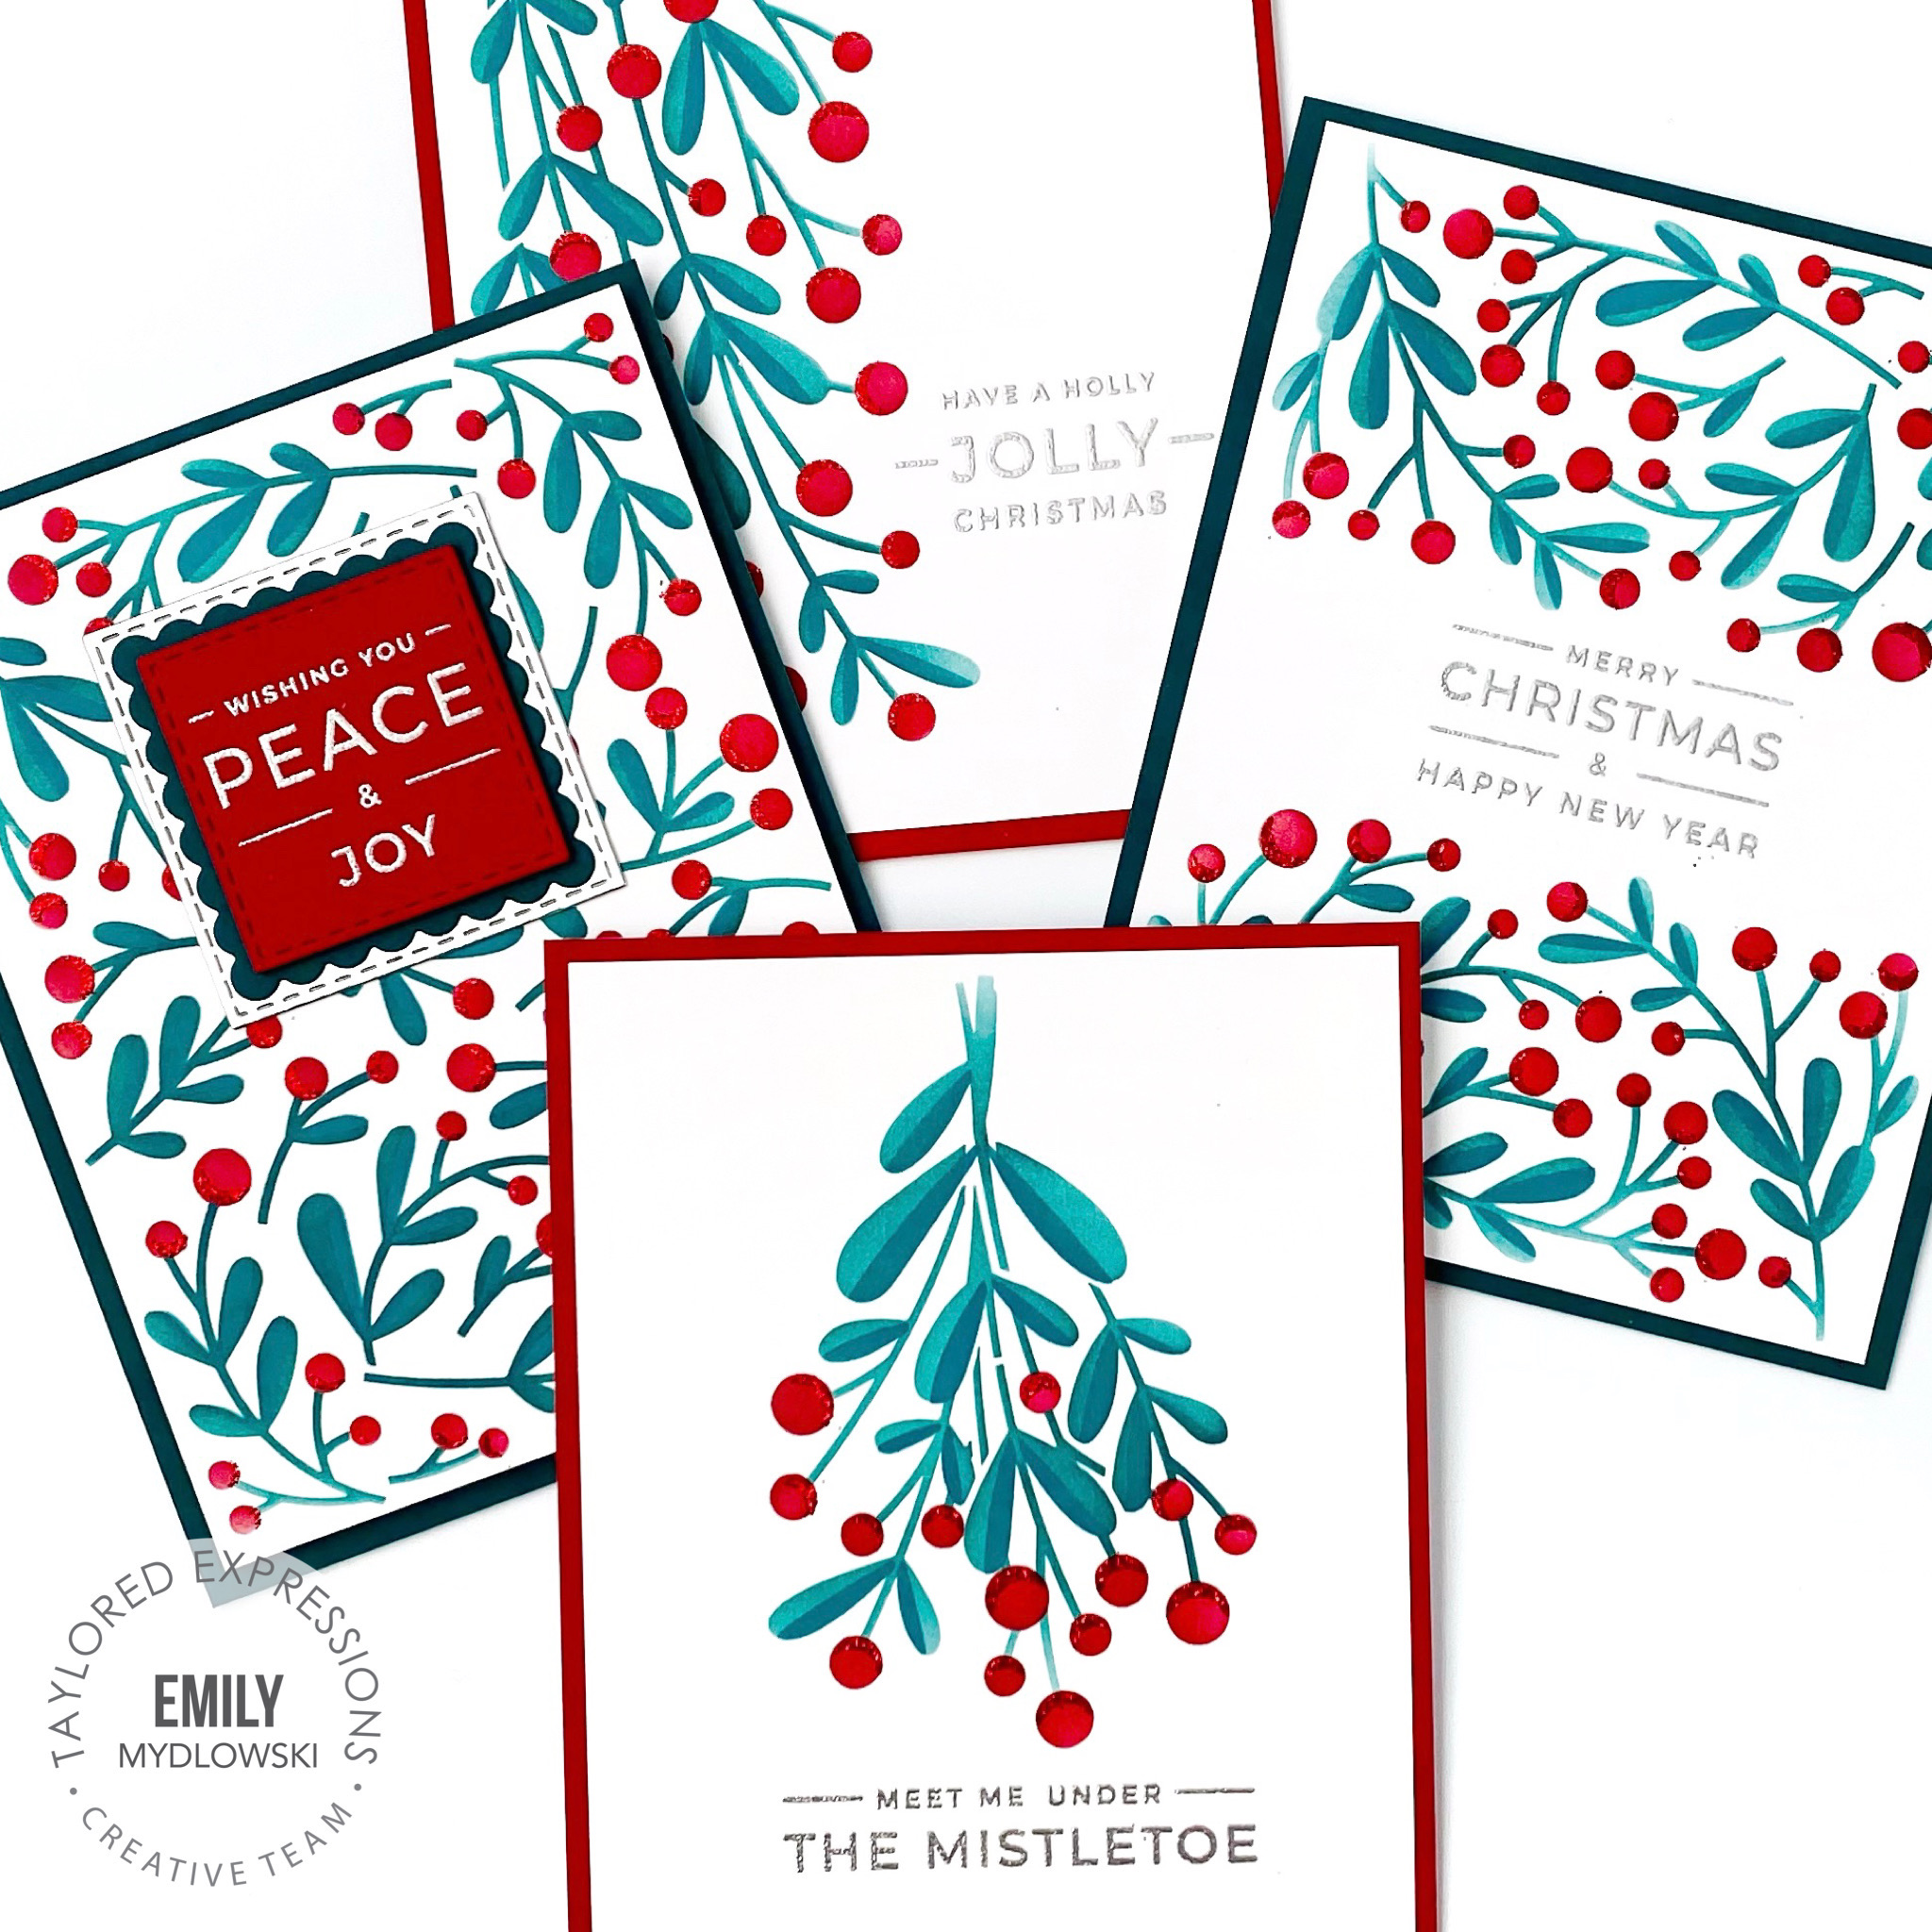
For the first EIGHT cards, I used the Create-in-Quads Stencil and Create-In Quads Paper Pack.  The Create-in-Quad Mistletoe is an 8.5 x 11 layered stencil set that creates FOUR different card fronts at the same time…WHAT!?

The Create-in-Quads Mistletoe is SO easy and FUN to create multiple cards, I had to create two sets in both Sugar Cube & Toffee in just three easy steps:

  1. Align & Stencil: Layer 1-4
  2. Trim into four panels
  3. Add a sentiment

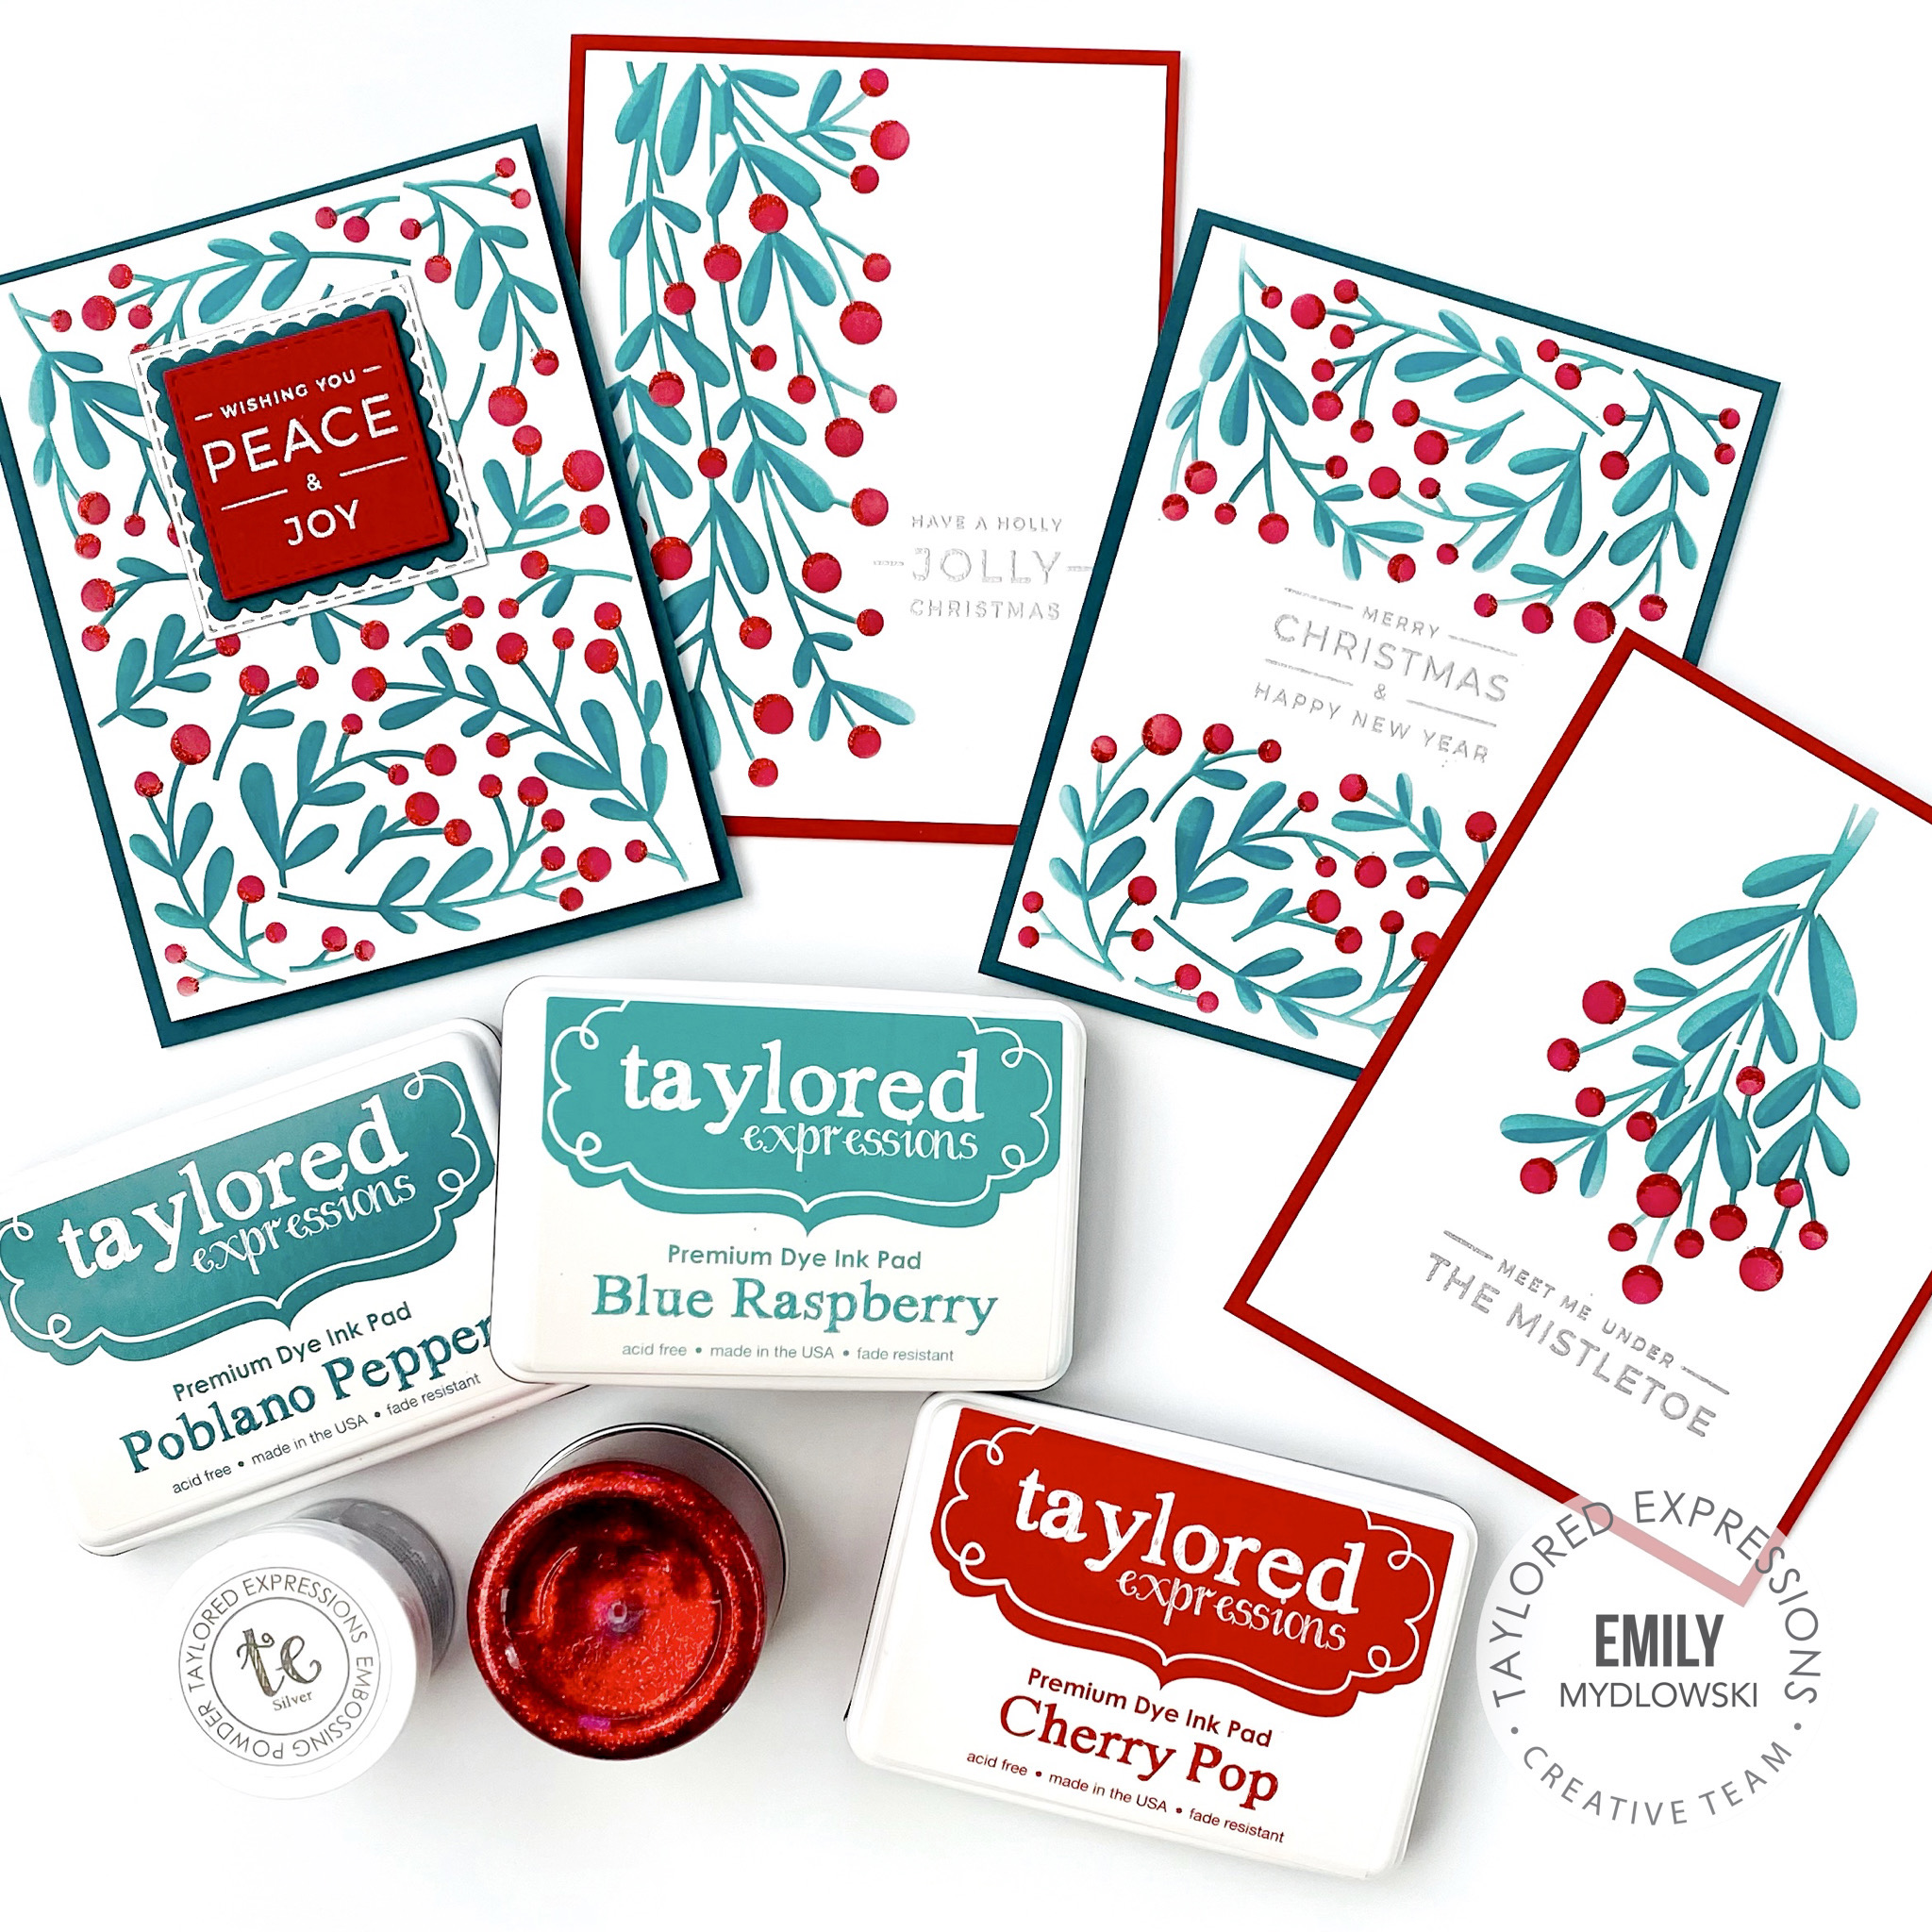
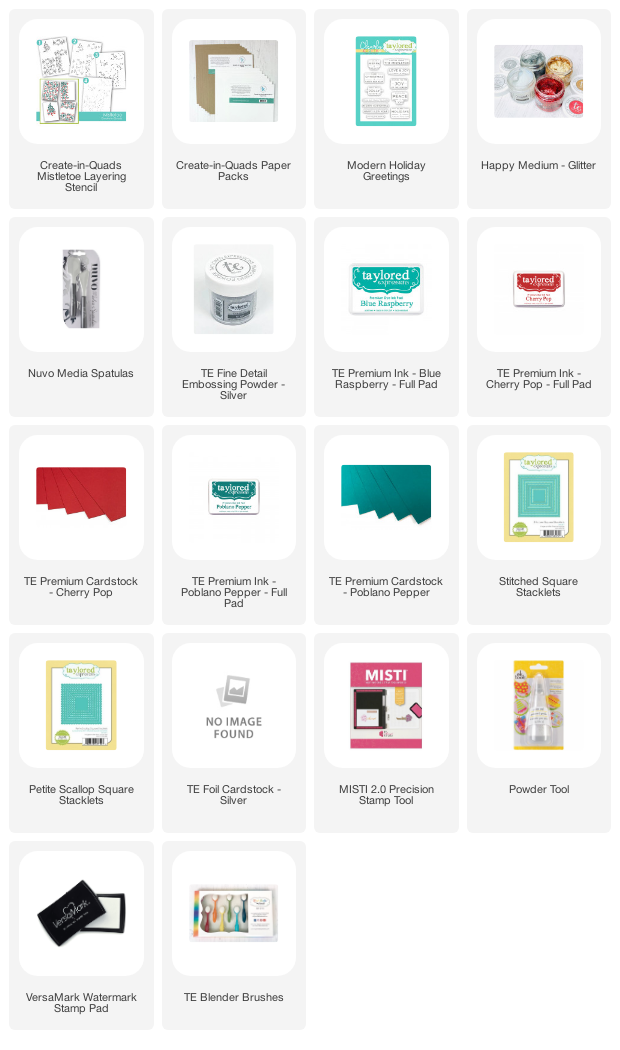
For my traditional Red/Green Mistletoe Card Set, I used Poblano Pepper, Blue Raspberry, Cherry Pop and for the berry accents some Red Happy Medium Glitter Paste.

All of the sentiments are from the Modern Holiday Greetings Clear Stamp Set that I heat embossed with silver embossing powder.

For the full mistletoe background panel, I added a square sentiment panel using square stitched and scallop stacklets with a little pop of silver foil cardstock.

To finish the cards, I added the panels to Cherry Pop & Poblano Pepper card bases. 

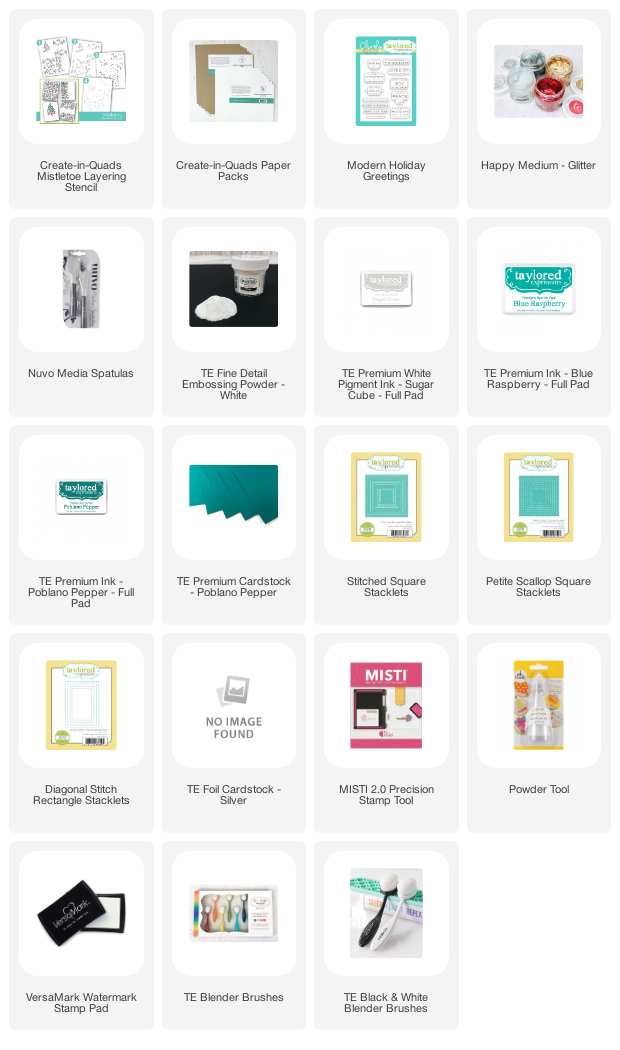
Sugar Cube Create-in-Quads Mistletoe Supplies
For my Toffee Mistletoe Card Set, I used Poblano Pepper, Blue Raspberry, Sugar Cube and for the berry accents some iridescent Happy Medium Glitter Paste—be careful—this glitter paste is seriously addictive.

I added a Green & Silver square sentiment panel to the full mistletoe background. For a little extra detailing, I added diagonal stitching to the “Wishing You the Joy of the Season Card” and rotated the Merry Christmas from portrait to landscape.

I heat embossed all of the sentiments with white embossing powder from the Modern Holiday Greetings Stamp Set. To finish the cards, I added the stenciled, embossed and decorated card panels to Poblano Pepper card bases.

Toffee Create-in-Quads Mistletoe Supplies
Holly Jolly Christmas

When I saw the Holly Jolly Christmas Cling & Clear, the first thing I thought of was a hand painted wood sign so I created a similar look minus the wood 🙂 I stamped the Shiplap Background with Toffee Ink to Sugar Cube Card Stock.

I positioned the Holly Jolly Sentiment Image with my MISTI, and stamped the image twice with Cilantro and Cherry Pop Ink Cubes. Then I stamped the Holly & Heart images with an acrylic block and as a finishing touch for extra dimension I added three Red Drip Drops to the Holly Centers. The decorated card panel was attached to a Cherry Pop card base to finish the card. I love how this design turned out and can’t wait to try it with different shiplap backgrounds and holiday ink colors! 

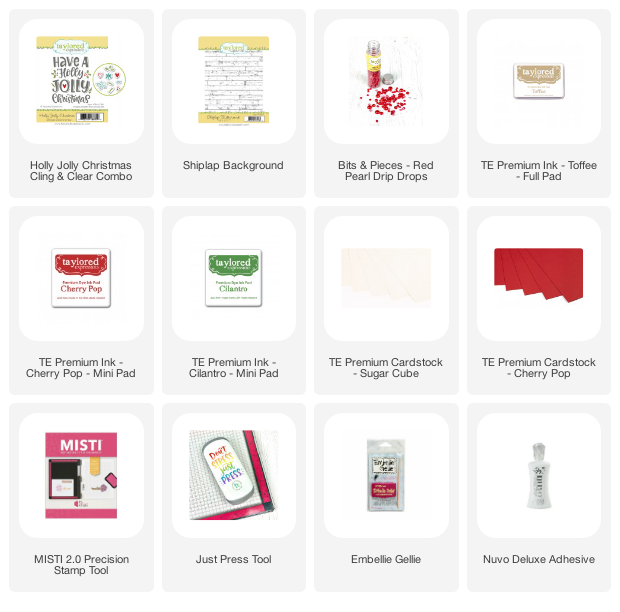
Holly Jolly Christmas Supplies
Beautiful Baubles with Merry & Bright

The Beautiful Baubles Stencil that was released last holiday season now has a coordinating die!! Having the coordinating die opens up so many different ways to arrange the baubles on your cards and can add lots more dimension. Using Blender Brushes, I stenciled the Baubles to Sugar Cube cardstock with Blue Raspberry, Cherry Pop and Strawberry Milkshake Inks.

For a little extra shine, I added the AWESOME Iridescent Happy Medium Glitter over the pink stenciled elements. After the glitter medium was dry, I cut each of the ornaments using the Beautiful Baubles Dies. I cut the ornament strings and toppers from Silver Glitter Cardstock and adhered them to the baubles using liquid adhesive and tape. I then hung the ornaments from an Arched Frame Window that I created using the New Arches Stacklets. Using liquid adhesive, foam adhesive squares & strips, I adhered the ornament/arch frame panel to a Twinkle Twinkle Silver heat embossed background.

The sentiment is from the Merry & Bright Stamp set which I stamped with Blue Raspberry and cut out using the coordinating dies. I adhered the sentiment with more foam adhesive and then attached the decorated card panel to a Blue Raspberry card base. I love all the sparkle, shine and dimension! 

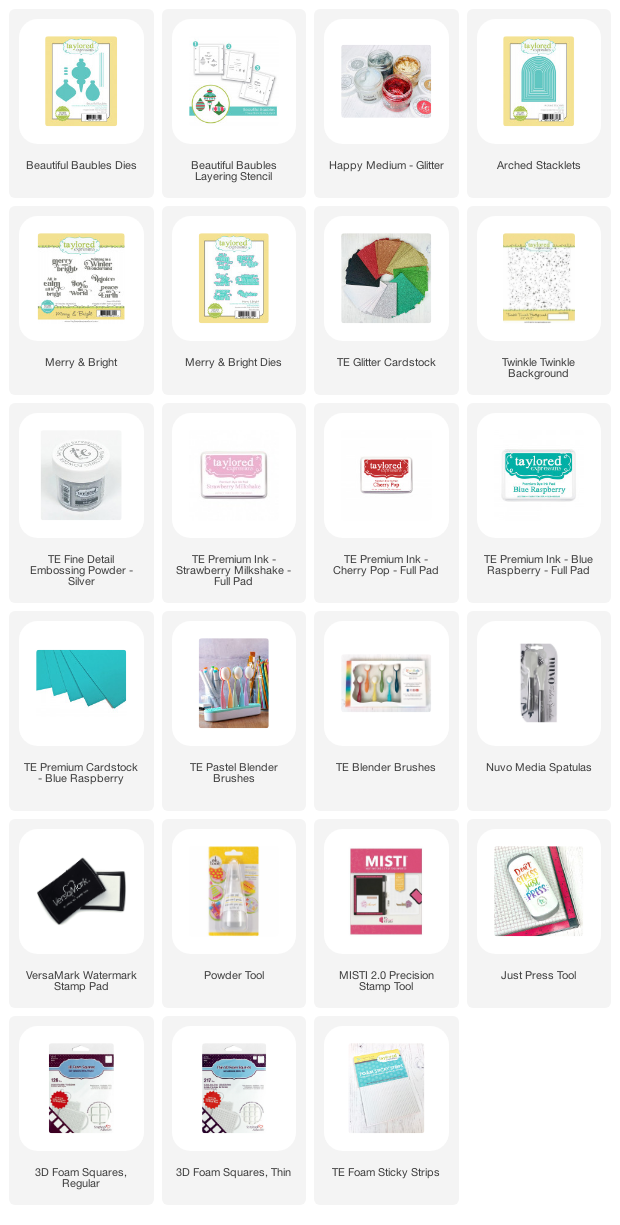
Beautiful Baubles Supplies:
New Release Promotion Details

Free envelopes & seals:

With any purchase of new release products of $75 or more, you will receive a FREE pack of envelopes and custom Mistletoe envelope seals. The pack includes 10 envelopes (2 each of Mulled Wine, Cherry Pop, Peapod, Sugar Cube, and Toffee) and 10 exclusive envelope seals (these seals are not available to purchase). This offer is valid through 11:59PM Central Time Sunday, October 3rd, or while supplies last.

Free class:

When you purchase the Create-in-Quads Mistletoe Card Class Collection (Create-in-Quads – Mistletoe Layered Stencil set, Clearly Crafty Modern Holiday Greetings stamp set, Create-in-Quads Paper Pack – Sugar Cube, and Create-in-Quads Paper Pack – Toffee ) through Sunday, October 5th, you will get a free exclusive 8-card video craft along class with Taylor and Heather!

This mini version of our Online Crafty Classes is a great way for you to put your new holiday goodies to use right away making eight (!) different cards at your own pace! Watch the videos as often as you like and learn some new card making tips and tricks while discovering inspiration for more designs!

Once you complete your purchase, you will receive an email (separate from your order confirmation email) with links to the class videos on YouTube.

Although Taylor and Heather will recommend colors for ink and cardstock, you can use anything you have to make these projects uniquely yours!

Hurry! This offer is only valid through 11:59 pm (CT) on Sunday, October 3rd, or while supplies last.

Pinkfresh Studio September Release BLog Hop!

Hello Friends! I’m thrilled to be guesting with the amazing Pinkfresh Studio of their September Stamp, Stencil and Hot Foil Release. The floral images in the release are absolutely stunning and the coordinating stencils make it a breeze to add layers of colors. 

We’re celebrating the new release with a Blog Hop filled with inspiration from an amazing group of talented designers. PLUS…the blog hop also comes with Giveaways!! Please scroll below for all the details + a Shopping Promo for free shipping!! 

Card Inspiration Projects: Dahlia Bunch

For my first two cards, I used the Dahlia Bunch Stamp, Stencil & Coordinating Die. I stamped the Dahlia’s with Versamark Ink and heat embossed with WOW! Rose Gold and Silver Embossing Powder.

For the Rose Gold outlined image, I wanted to create an autumnal feel with rich yellows and oranges by combining Peach Fuzz, Apricot, Clementine, Coral Reef, Dune, Aquamarine & Mermaid Cove. 

For the Silver Embossed image, I autumnal boho color palette with purples and corals by combining Passion Fruit, Ballet Slipper, Coral Reef, Soft Lilac, Lavender, Candy Violet, Regal Kiss, Aquamarine & Mermaid Cove.

To finish the cards, I adhered them to a white-on-white Color Block Stripes die cut background and added a Rose Gold Just Because heat embossed sentiment and a Hello Silver die cut word sentiment to the images. 

Card inspiration: Blooming Branches Holiday

For my third card, I went with a Christmas Color Theme with the Blooming Branches Stamp, Stencil and Coordinating Die. I always like to get a jump start and create a stash of Christmas Thank You cards that are ready to send out after all the holiday festivities and gift giving.

I stamped the Blooming Branch with Black ink a white card panel leaving just enough room to fit a sentiment. Then I stamped, stenciled the Blooming Branch with Candy Apply, Berrylicious, Passion Fruit, Emerald & Meadow Inks. I used the Essentials: Diagonal Stitched Rectangle Die Set to create a thin frame in red cardstock that I adhered to the edge of the card panel. The sentiment was heat embossed with WOW! Gold Embossing Powder. To finish the card, with foam squared I adhered the “stencil-colored” bloom branch image around the Huge Thanks sentiment and added pops of Gold Metallic Pearls to the floral centers.


So there we are friends, three stamped (embossed), stenciled and die cut floral cards using the Gorgeous New September Release from Pinkfresh Studio. Thanks for stopping by and Big Paper Hugs!

Be sure to check out the entire hop from the LinkDeli Link Below. 

You are invited to the Inlinkz link party!

Click here to enter
https://fresh.inlinkz.com/js/widget/load.js?id=a8b40ada7693d64e5923

Giveaway Details

  • Pinkfresh is giving away the full release on the Pinkfresh blog & YouTube channel
  • Pinkfresh Studio will be giving away a total of TEN $25  gift cards along the hop. Be sure to leave a comment here and along the hop for a chance to win. 

Winners will be posted on October 5, 2021 on the Pinkfresh Studio GIVEAWAY PAGE. Make sure you check this page to see if you won. Prizes must be claimed within two weeks. 

Shipping Promotion Details:

If you see something you like and are now off to do a little shopping…Pinkfresh Studio is offering free US shipping on all orders $75+ from September 27th to October 3rd

Taylored Expressions Wheatfield Dreams Card Kit Release Inspiration

Hi Friends and Happy Tuesday!  Today, I’m sharing two projects using the new Taylored Expressions Wheatfield Dreams Cardmaking Kit. If you love the Field Notes Series, you are going to love this kit! I absolutely love every single piece in this kit from the gorgeous illustrations by Lori Craig to the versatile Burlap Background that adds just the perfect amount of texture and the beautiful Copper Embossing Powder. Plus, three new TE Liquid Watercolors have been released and they are a perfect match with the sunflower and Wheatgrass Images: Honey, Sweet Basil and Mulled Wine.

Here’s everything included in the Wheatfield Dreams Kit – which is available for $69:

  • Wheatfield Dreams stamp set
  • Wheatfield Dreams die collection
  • Burlap Background stamp
  • Foil It – Wheatfield
  • Mini Embossing Powder – Copper
  • 6 A2 Envelopes, 2 each of: Honey, Mulled Wine, and Sweet Basil
  • Packaged in a zippered pouch with a custom kit label

Limited quantity available. Most items are not available to purchase individually.

You will be able to purchase additional envelope seals (pack of 10) and new TE Liquid Watercolor colors (Honey, Mulled Wine, and Sweet Basil) separately.

Wheatfield Dreams Card Making Kit Ideas

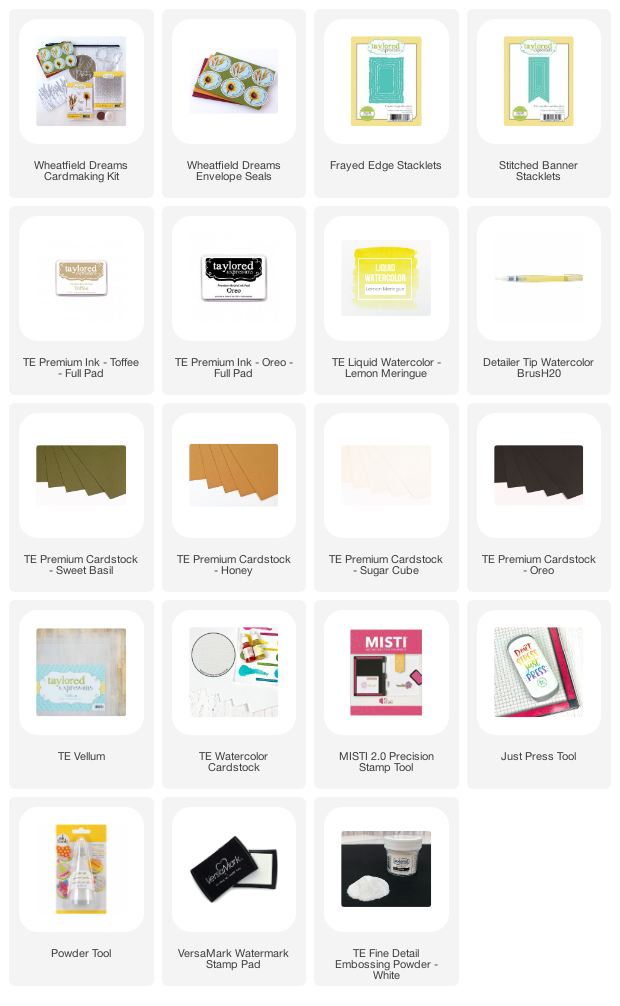
When I watercolor images, I like to stamp and heat emboss the images to create a raised edge that helps me stay in the lines. I stamped the Sunflower & Wheatgrass images with Versamark Ink and then heat embossed with the gorgeous copper embossing powder. For the Sunflower, I used Honey with hints of Lemon Meringue Liquid Watercolors for the petals and mixed Honey with Mulled Wine for the sunflower center and Sweet Basil for the stem. For the Wheatgrass, I did a light wash of Honey and Sweet Basil Liquid watercolors. The images were then cut using the coordinating dies. 

For my Sunflower Thank You card, I combined several layers of frayed edge Burlap Backgrounds using the Frayed Edge Dies and Burlap Background Stamp. The bottom layer was stamped with Oreo Ink to white card stock. For the next layer, I stamped the burlap background with Toffee Ink to watercolor paper and with a flat edge brush washed over layers of honey liquid watercolor. The last layer was an Oreo frayed edge rectangle with a white heat embossed Thank You sentiment. 

For my Wheatgrass Encouragement Card, I heat embossed the Burlap Background to a Toffee Card Panel using the Copper Embossing Powder. I created a frayed edge double-frame using the Frayed Edge Stacklets which I placed the Copper Embossed Burlap Background behind. I heat embossed the sentiment with Copper Embossing Powder to a piece of vellum which I die cut using a Banner Stacklet. I placed a sweet basil Banner behind the vellum sentiment for a little extra pop of color. I tucked the banner behind the Frayed Edge Frame and adhered the water color Wheatgrass image with foam tape. 

So there we are friends, two very different card designs using all the same supplies from the Wheatfield Dreams Cardmaking Kit. Thanks for stopping by. Be sure to check out the Taylored Expression blog for more TE Creative Team Inspiration. 

Big Paper Hugs!

Emily

Supply List