
It’s beginning to look a lot like Christmas with the latest Taylored Expressions Christmas Release. The entire release is full of Holiday Cheer with new Stamps, Dies, Stencils, Foil it Panels & NEW GLITTER PASTE!!! I’m so excited about all the Sparkle and wait until you see the Create-in-Quads Stencils…it’s absolutely BRILLIANT and takes mass producing holiday cards to a new level!
Today, I have 10!! projects to share with you! So let’s get started with the card inspiration shall we?!
Create-in-Quads Mistletoe Stencils

For the first EIGHT cards, I used the Create-in-Quads Stencil and Create-In Quads Paper Pack. The Create-in-Quad Mistletoe is an 8.5 x 11 layered stencil set that creates FOUR different card fronts at the same time…WHAT!?

The Create-in-Quads Mistletoe is SO easy and FUN to create multiple cards, I had to create two sets in both Sugar Cube & Toffee in just three easy steps:
- Align & Stencil: Layer 1-4
- Trim into four panels
- Add a sentiment

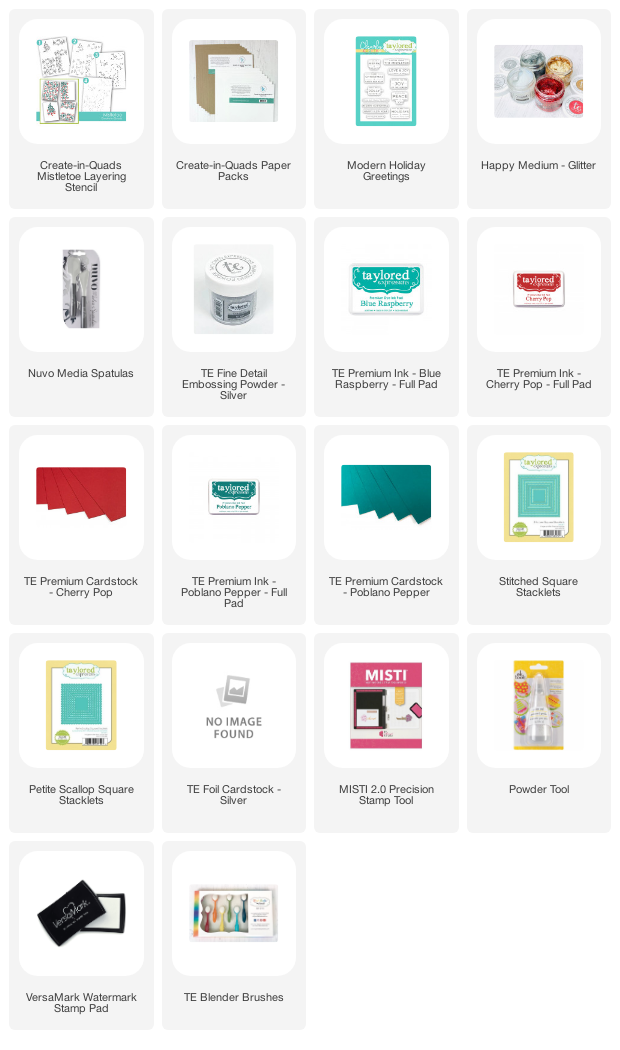
For my traditional Red/Green Mistletoe Card Set, I used Poblano Pepper, Blue Raspberry, Cherry Pop and for the berry accents some Red Happy Medium Glitter Paste.

All of the sentiments are from the Modern Holiday Greetings Clear Stamp Set that I heat embossed with silver embossing powder.

For the full mistletoe background panel, I added a square sentiment panel using square stitched and scallop stacklets with a little pop of silver foil cardstock.

To finish the cards, I added the panels to Cherry Pop & Poblano Pepper card bases.


Sugar Cube Create-in-Quads Mistletoe Supplies
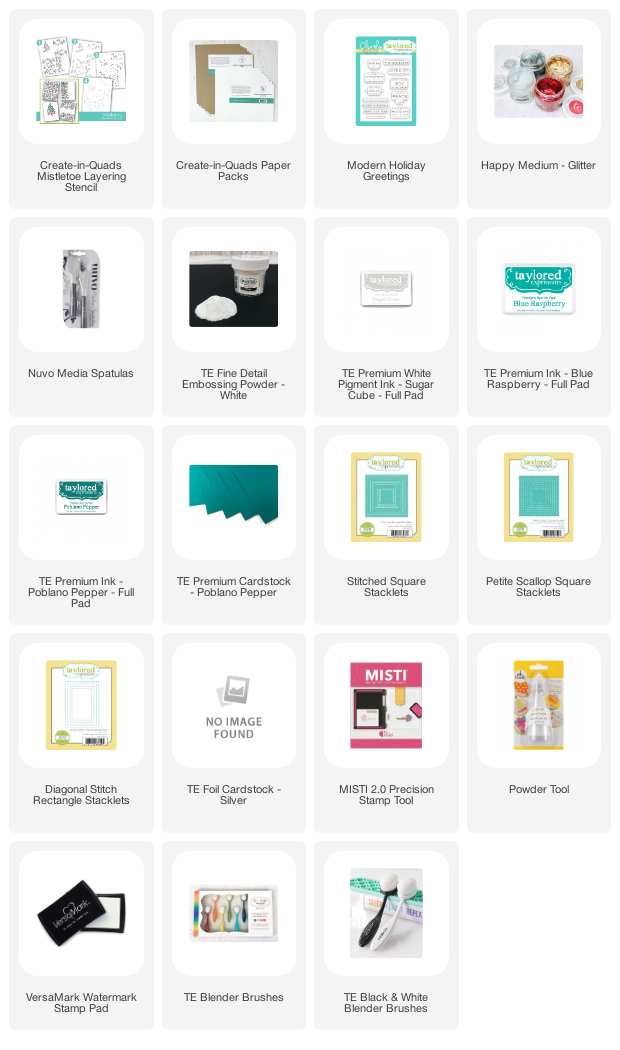
For my Toffee Mistletoe Card Set, I used Poblano Pepper, Blue Raspberry, Sugar Cube and for the berry accents some iridescent Happy Medium Glitter Paste—be careful—this glitter paste is seriously addictive.

I added a Green & Silver square sentiment panel to the full mistletoe background. For a little extra detailing, I added diagonal stitching to the “Wishing You the Joy of the Season Card” and rotated the Merry Christmas from portrait to landscape.

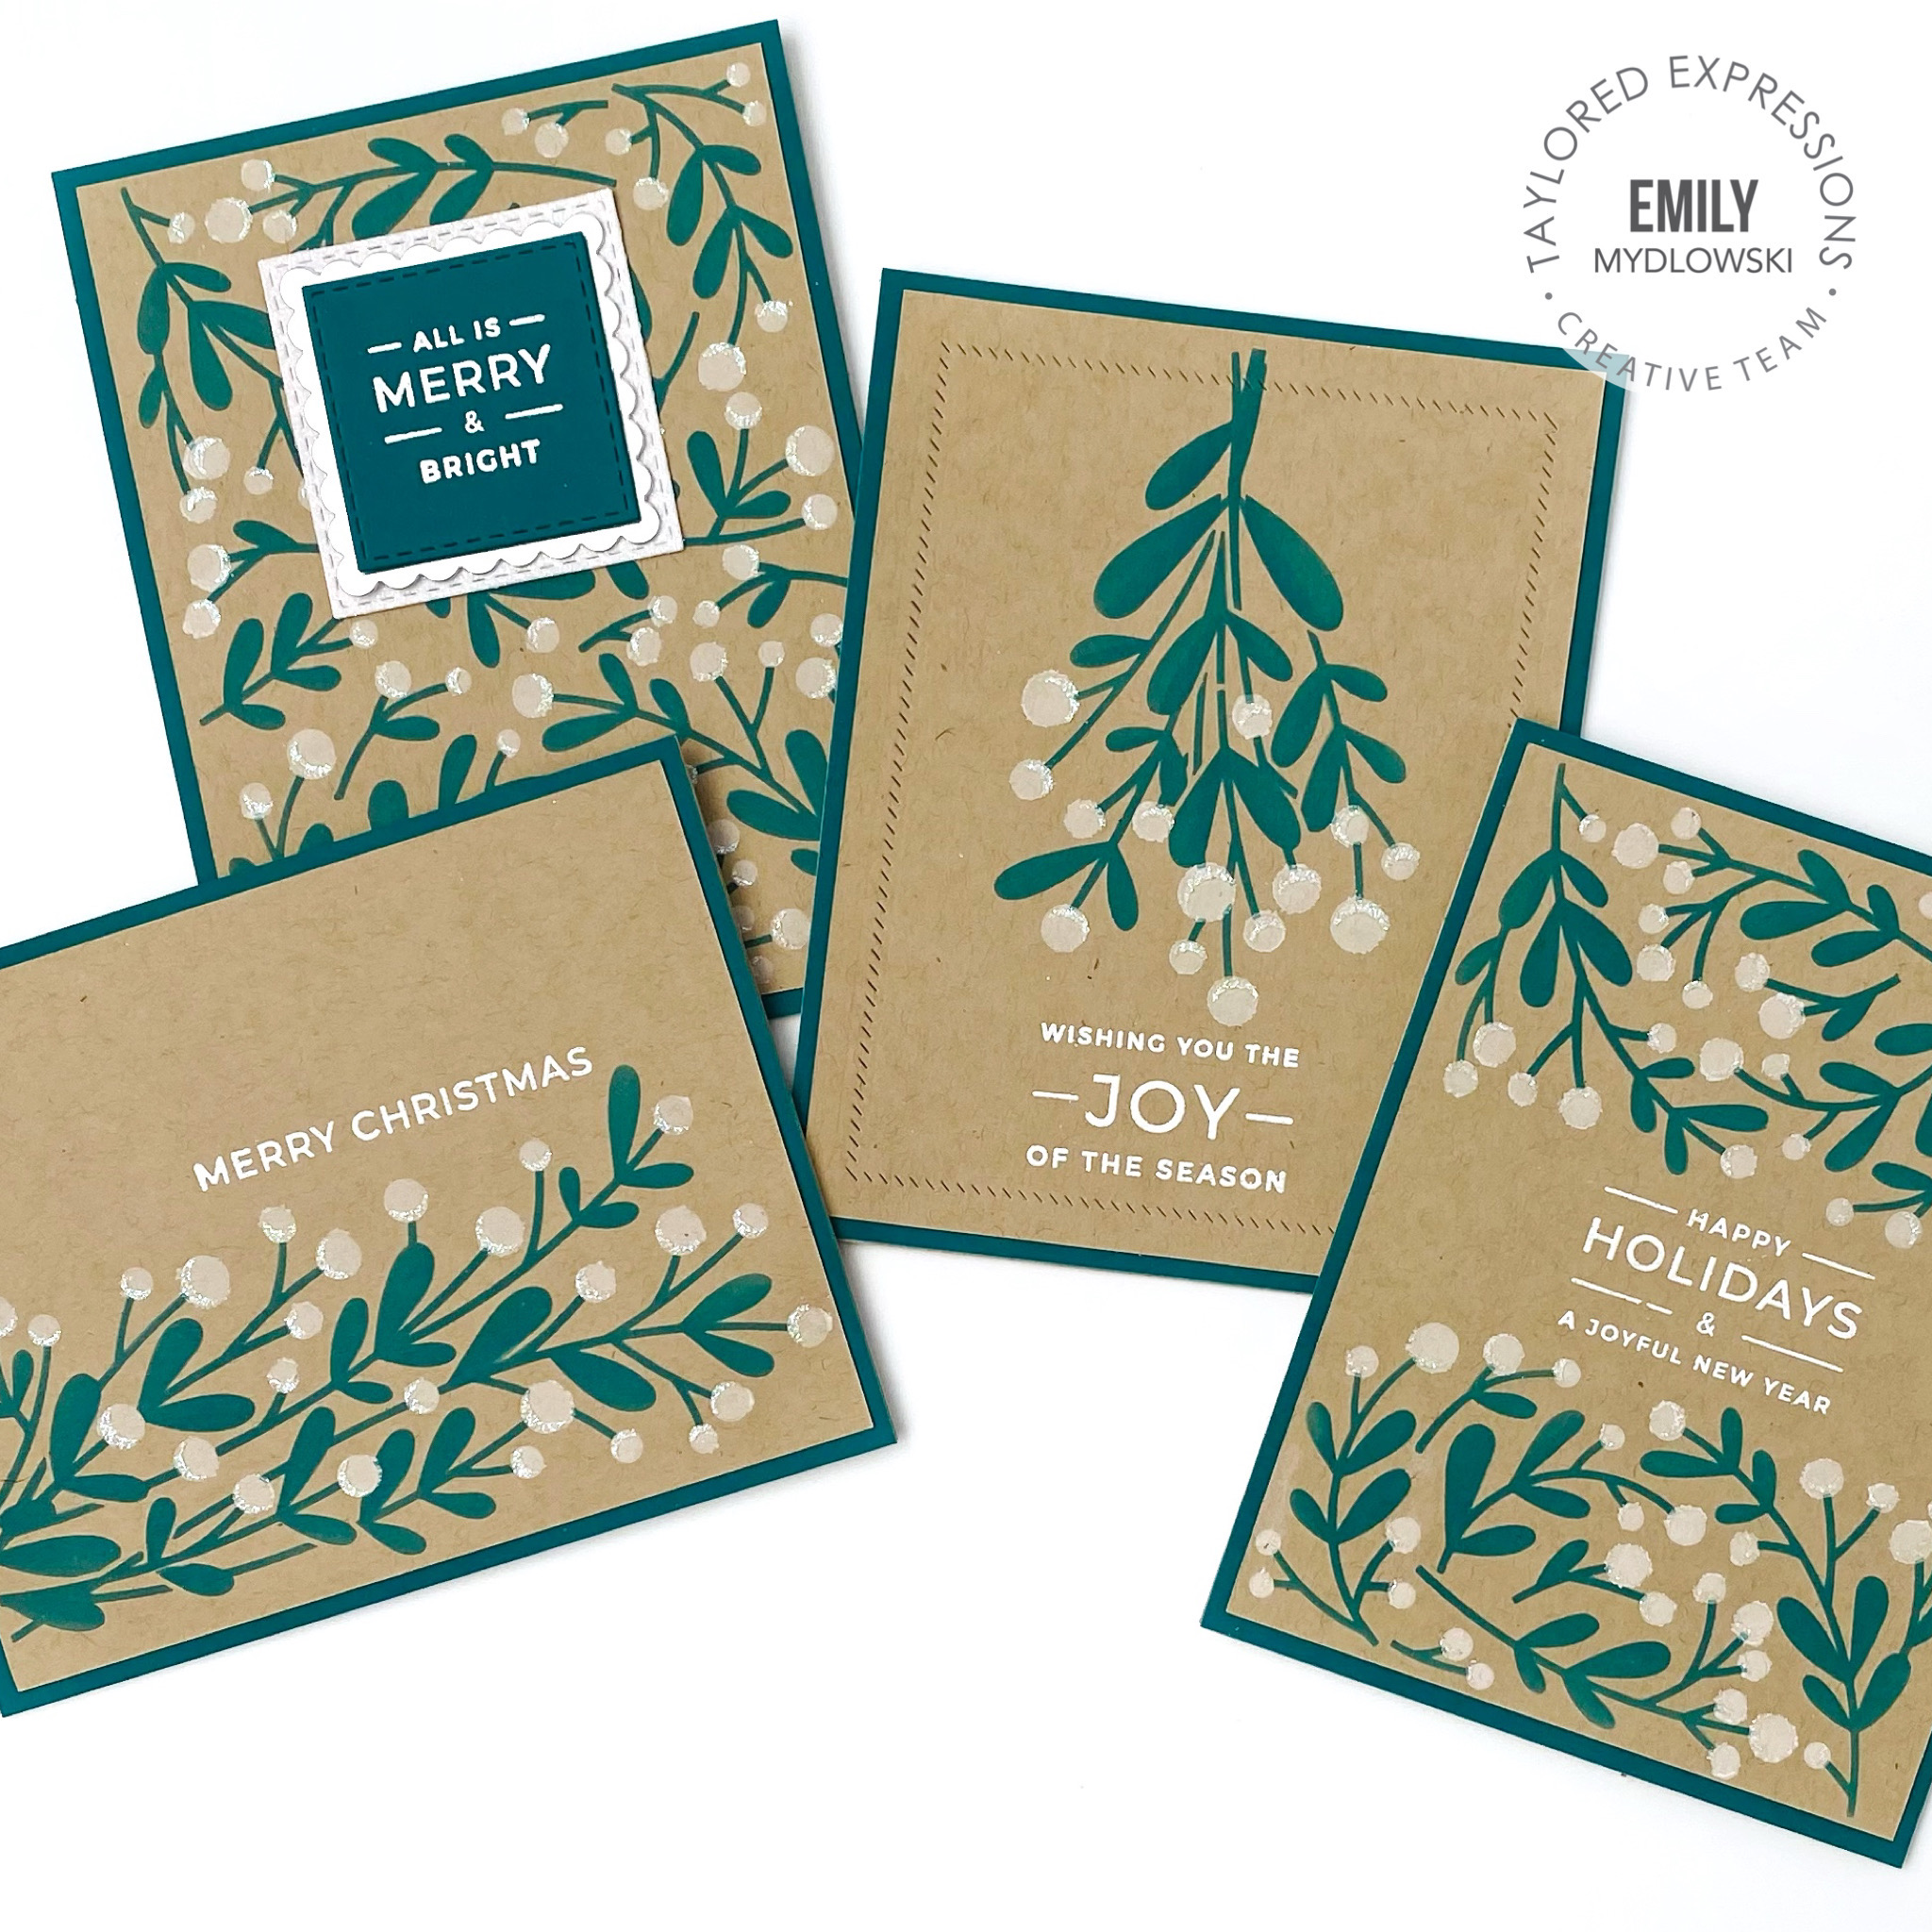
I heat embossed all of the sentiments with white embossing powder from the Modern Holiday Greetings Stamp Set. To finish the cards, I added the stenciled, embossed and decorated card panels to Poblano Pepper card bases.

Toffee Create-in-Quads Mistletoe Supplies
Holly Jolly Christmas
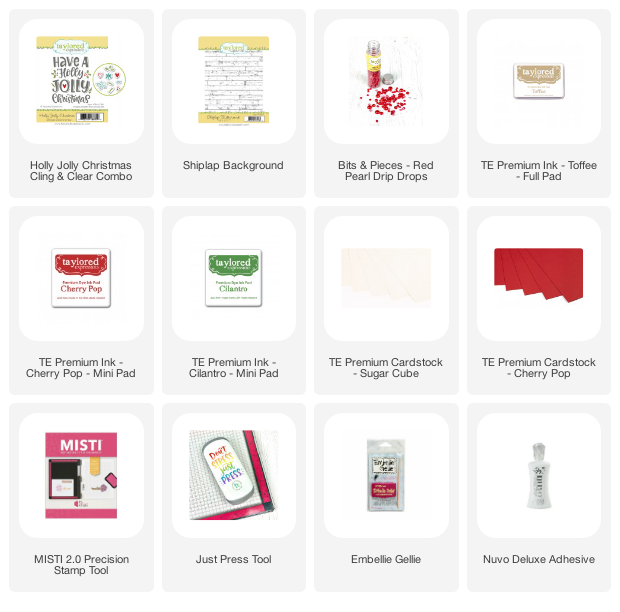
When I saw the Holly Jolly Christmas Cling & Clear, the first thing I thought of was a hand painted wood sign so I created a similar look minus the wood 🙂 I stamped the Shiplap Background with Toffee Ink to Sugar Cube Card Stock.

I positioned the Holly Jolly Sentiment Image with my MISTI, and stamped the image twice with Cilantro and Cherry Pop Ink Cubes. Then I stamped the Holly & Heart images with an acrylic block and as a finishing touch for extra dimension I added three Red Drip Drops to the Holly Centers. The decorated card panel was attached to a Cherry Pop card base to finish the card. I love how this design turned out and can’t wait to try it with different shiplap backgrounds and holiday ink colors!

Holly Jolly Christmas Supplies
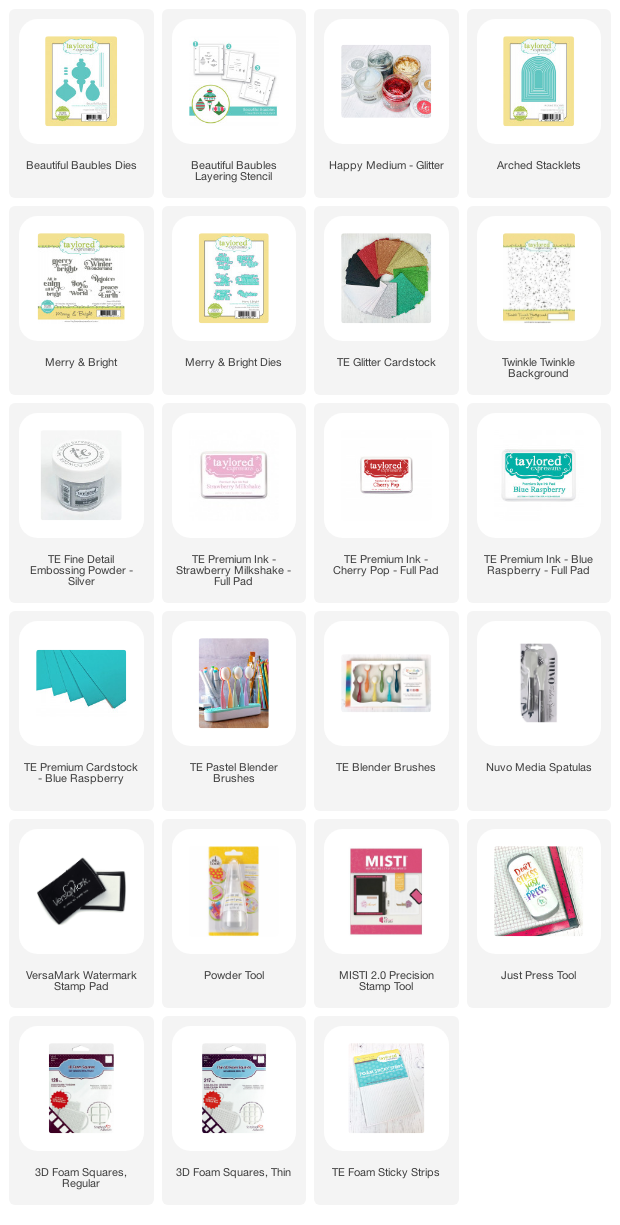
Beautiful Baubles with Merry & Bright
The Beautiful Baubles Stencil that was released last holiday season now has a coordinating die!! Having the coordinating die opens up so many different ways to arrange the baubles on your cards and can add lots more dimension. Using Blender Brushes, I stenciled the Baubles to Sugar Cube cardstock with Blue Raspberry, Cherry Pop and Strawberry Milkshake Inks.

For a little extra shine, I added the AWESOME Iridescent Happy Medium Glitter over the pink stenciled elements. After the glitter medium was dry, I cut each of the ornaments using the Beautiful Baubles Dies. I cut the ornament strings and toppers from Silver Glitter Cardstock and adhered them to the baubles using liquid adhesive and tape. I then hung the ornaments from an Arched Frame Window that I created using the New Arches Stacklets. Using liquid adhesive, foam adhesive squares & strips, I adhered the ornament/arch frame panel to a Twinkle Twinkle Silver heat embossed background.

The sentiment is from the Merry & Bright Stamp set which I stamped with Blue Raspberry and cut out using the coordinating dies. I adhered the sentiment with more foam adhesive and then attached the decorated card panel to a Blue Raspberry card base. I love all the sparkle, shine and dimension!
Beautiful Baubles Supplies:
New Release Promotion Details
Free envelopes & seals:

With any purchase of new release products of $75 or more, you will receive a FREE pack of envelopes and custom Mistletoe envelope seals. The pack includes 10 envelopes (2 each of Mulled Wine, Cherry Pop, Peapod, Sugar Cube, and Toffee) and 10 exclusive envelope seals (these seals are not available to purchase). This offer is valid through 11:59PM Central Time Sunday, October 3rd, or while supplies last.
Free class:

When you purchase the Create-in-Quads Mistletoe Card Class Collection (Create-in-Quads – Mistletoe Layered Stencil set, Clearly Crafty Modern Holiday Greetings stamp set, Create-in-Quads Paper Pack – Sugar Cube, and Create-in-Quads Paper Pack – Toffee ) through Sunday, October 5th, you will get a free exclusive 8-card video craft along class with Taylor and Heather!
This mini version of our Online Crafty Classes is a great way for you to put your new holiday goodies to use right away making eight (!) different cards at your own pace! Watch the videos as often as you like and learn some new card making tips and tricks while discovering inspiration for more designs!
Once you complete your purchase, you will receive an email (separate from your order confirmation email) with links to the class videos on YouTube.
Although Taylor and Heather will recommend colors for ink and cardstock, you can use anything you have to make these projects uniquely yours!
Hurry! This offer is only valid through 11:59 pm (CT) on Sunday, October 3rd, or while supplies last.
