Pinkfresh Studio Artsy Florals Release Blog Hop

Hi Friends! I hope you’re enjoying the Pinkfresh Studio Artsy Floral Release Blog Hop! I’m thrilled to be joining the hop and sharing four cards using the Notched Corner Frame Die, Flutter Butterflies Stamp, Washi & Die and the Berries & Blossom Cling Stamp, Stencil & Die.

Rainbow Flutter Butterflies

Oh my rainbow, this set of butterflies is absolutely gorgeous with the watercolored rainbow butterfly + dragonfly images and gold foil accents.I adhered the washi images from the roll to vellum paper and cut all the images at once (this is AWESOME) using the coordinating dies.

For my first card, I cascaded the butterflies in rainbow order to a layered Notched Corner Frame background. To finish the card, I added the black and white heat embossed sentiment from the Fluttering Butterflies Stamp.

For my second card, I cascaded the butterflies in rainbow order horizontally across a Dotted Scallops Coverplate background. For extra sparkle and shine, I added a rainbow of Glitter Drops in Ruby, Magenta, Butterscotch, Gold, Leaf, Aqua, Amethyst & Champagne. To finish the card, I added the black and white heat embossed sentiment from the Flutter Butterflies Stamp.

Berries & Blossom

This set is SO pretty with the strawberry branches and an arrangement of florals that I wanted the image to be the entire background of my card panel. I stamped the background with Versamark Ink to pink & red cardstock and heat embossed the image with white embossing powder.

To the red & white impression, I used the Berries & Blossom Layered stencil to add dimension using Candy Apply & Berrylicious Inks and cut the image using the coordinating Berries & Blossom die. I also fussy cut a few of the florals to detach them from their floral branches.

To the pink & white embossed impression, I used the Berry & Blossom Layered stencil to add Candy Apple, Berrylicious, Sparkling Rose & Mint ink colors. Then I added the red florals to the pink background using foam adhesive. For extra sparkle & shine I added Ballet Slipper Jewels. To finish the card, I added the Black and White heat embossed sentiment from the Flutter Butterflies stamp.

Bonus Card: Pink Butterflies Thank You

After creating the pretty in pink Berries & Blossoms card, I realized I had leftover pink washi butterflies from my previous two cards so I created a bonus card.

I used one of the smaller Notched Corner Frames as a sentiment block which I added a gold heat embossed sentiment from the Flutter Butterflies Stamp. Then I added the sentiment frame to a Floral Backdrop Coverplate Die. Then I tucked in a few of the washi branches and the two pink butterflies. To finish the card, I added the decorated panel to a hot pink background.

So there we are friends, several pretty cards using products from the Pinkfresh Studio Artsy Floral Release. Check out the entire release at Pinkfresh Studio and be sure to check out all Blog Hop details below for a chance to win some great giveaways. Thanks for stopping by and Big Paper Hugs!

BLOG HOP DETAILS & NEW RELEASE GIVEAWAYS

Giveaway: Be sure to comment along the hop for a chance to win!

  • The full release on the Pinkfresh blog & YouTube channel.
  • A total of TEN $25 gift cards along the hop.

Winners will be posted on April 2, 2024 ****on the Pinkfresh Studio GIVEAWAY PAGE. Please check the Giveaway Page to claim prizes within 2 weeks.

You are invited to the Inlinkz link party!

Click here to enter
https://fresh.inlinkz.com/js/widget/load.js?id=c0efdbe6b4add43dd7ef

Taylored Expressions Sunshine and Rainbows Release Inspiration

Hi Friends & Happy Tuesday! Well, as a Rainbow Everything kind of cardmaker the new Taylored Expressions Sunshine & Rainbows release might be my absolute favorite!! ☀️🌈😍🤩

All of my projects, use the Here Comes the Sun Clear Stamp & Dies and the Shine Bright Sentiments & Coordinating Dies. These items were first available in the Here Comes the Sun Cardmaking Kit and now they’re available in the shop for purchase. 

CIQ-ROYGBIV Sunshine & Rainbows

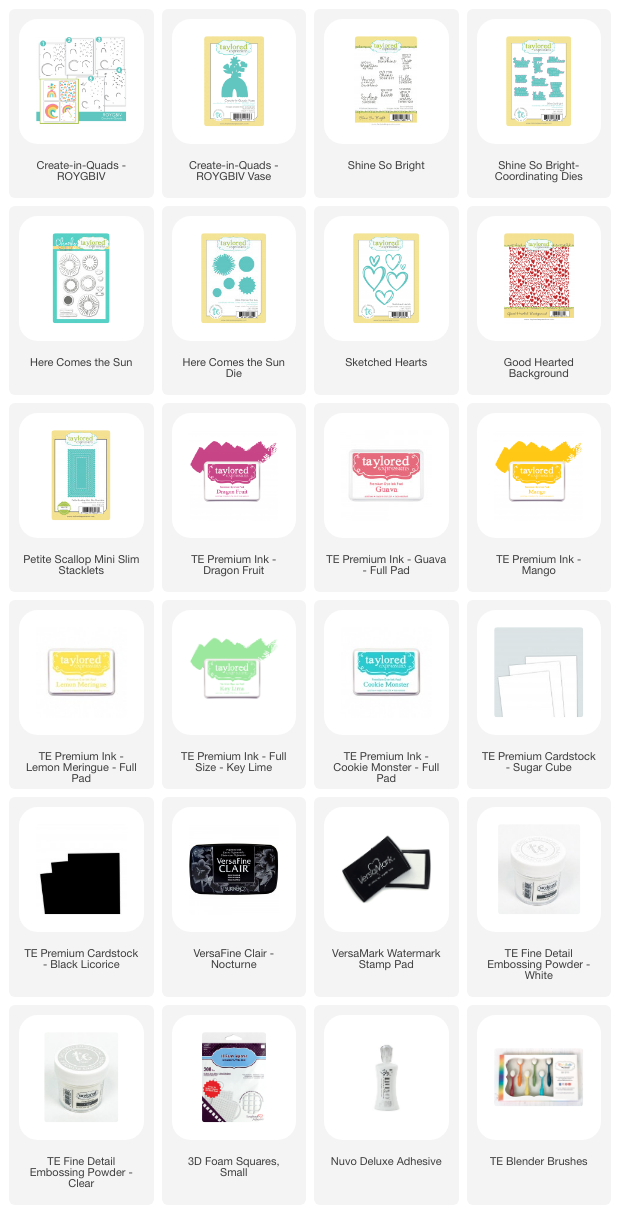
For my first set of cards, I used the Create In Quads-ROYGBIV Layering Stencil with Dragon Fruit, Guava, Mango, Key Lime & Cookie Monster Inks. When I create rainbow cards, I love adding the rainbow to black and white contrasting elements to give the colors extra pop. I did this with the Black and White Embossed Good Hearted Background, Sketched Heart die cuts and Black cardbases.

Hey, Sunshine: I used the NEW Rainbow Vase Coordinating Die to cut out the image from one of the panels. The Good Hearted Background was stamped with VersaFine Nocturne Ink, heat embossed with clear embossing powder and trimmed down and centered on a Sugar Cube panel. I then used foam tape to adhered the Rainbow Vase and a Here Comes the Sun stamped image in Mango & Lemon Meringue Inks. 

You Brighten my Day: I used the Sketched Hearts dies to cut out the rainbow splash image and coordinating them with Licorice and Sugar Cube die cuts. I connected the inside of the heart to its frame using thin pieces of clear tape on the underside of each of the die cuts. Then I adhered all the hearts to a Mini Slim Scallop Stacklet.   

CIQ-ROYGBIV Supplies

Here’s to Another Trip ‘Round the Sun

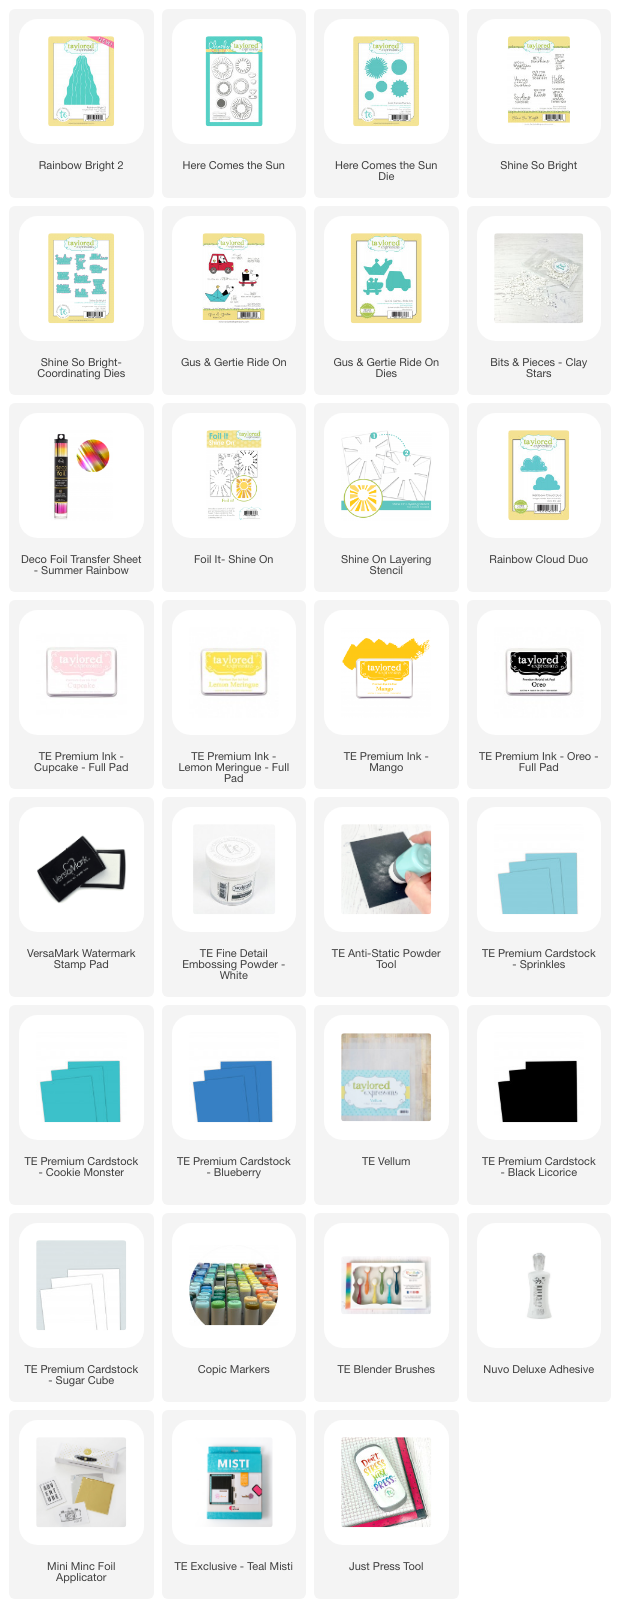
While the Rainbow Bright 2 Die makes a beautiful rainbow focal point on your cards, I couldn’t stop seeing waves so I had to use the die to create Sprinkles and Cookie Monster waves. I added the Gus & Gertie Ride on Sail Boat image which I colored using an assortment of Teal and Yellow Copic Markers.  

The Sun was created using the Here Comes the Sun Stamp and Die with Lemon Meringue, Mango, Cupcake (for the cheeks) and Oreo for the adorable face. To finish the cards, I added the black and white heat embossed sentiment from the Shine Bright Stamp Set. I thought this sentiment was the perfect punny match with the Sun and Gus & Gertie Sailboat images—perfect for a special adventurer’s birthday.

You are a ray of Sunshine

The Here Comes the Sun images make the cutest suns so I had to create one more card using the Here Comes the Sun Stamp, Die, Foil-It Shine On, Shine On Layering Stencil and the Rainbow Cloud Duo.

I foiled the panel with a Summer Rainbow Deco Foil Transfer sheet and add the Cookie Monster and Mango rays using the Shine On Layering Stencil. I place the sun in the center with vellum and sugar cube clouds. To finish the card, I added the sentiment from the Shine On Set. 

Here Comes the Sun Supplies

So there we are friends, a couple fun projects using the Sunshine & Rainbow New Release at Taylored Expressions. I hope you enjoyed my post today. Be sure to stop by the Taylored Expressions Blog to see more inspiration from the Creative Team. Thanks for stopping by and Big Paper Hugs!

New Release Promotional Details

The Rainbow Enamel Dots Bundle is $45 and includes:

This special bundle is only is only available while supplies last!

First 750 orders of $75+ receive the Sticker to It – Rainbow Bright for free!

Taylored Expressions 2025 Calendar Release

Hi Friends and Happy Tuesday! 2024 may have already started but the 2025 Handmade Calendar goodies at Taylored Expressions are now available so you can get a jump start. Today, I’m sharing two projects using the Arch Nouveau Bundle and a Gus and Gertie 2025 Square Tear Off Calendar.

Arch Nouveau Bundle Jan-June

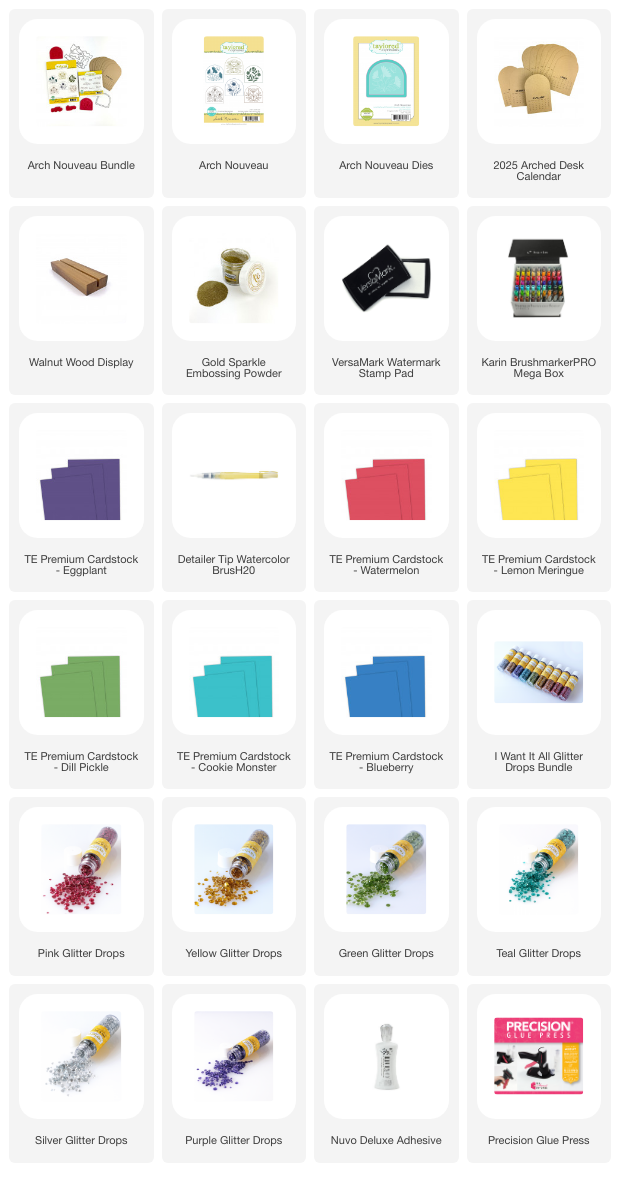
For my rainbow floral Jan-June calendar designs, I stamped all of the Arch Nouveau images with VersaMark ink to Bristol Cardstock and heat embossed with gold embossing powder.

I water colored all the Nouveau images with an assortment of Karin Markers (Red 209, Magenta Red 170, Gold 283, Pale Orange 357, Grass 253, Cool Aqua 204, Indigo Blue 169, Pale Violet 247) using direct ink & water to paper and the Detailer Water Brush.

I cut all the images using the smaller ached coordinating die along with coordinating cardstock for the frame using the larger arch die. I adhered the arch designs to the Toffee Arch Calendars and added matching glitter drops for added sparkle and shine. 

Arch Nouveau Calendar Supplies

Gus and Gertie 2025 Square Tear-Off Calendar

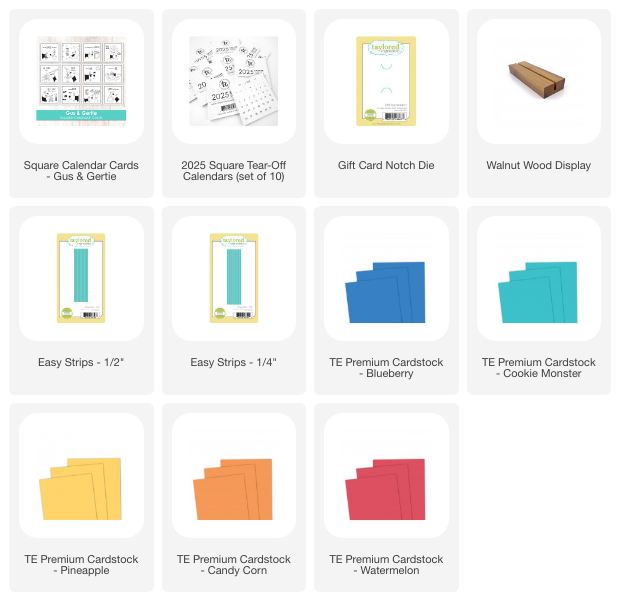
The Gus and Gertie Square calendar cards are THE BEST! SO Cute! I used a 6.25 x 3.5 Blueberry rectangle to fit both the 2025 Tear Away Calendars and Gus & Gertie cards.

To hold a Gus & Gertie card one month at a time, I created a tab holder by partially die cutting the Gift Card Notch die to the center of the calendar base. I adhered a 3×3 envelope to the back of the calendar where I hid all the extra cards. 

I did some simple coloring on the calendar cards with pink cheeks and yellow feathers. Below the calendar card notch holder, I added 1/4 and 1/2 inch Easy Strips in Cookie Monster, Pineapple, Candy Corn and Watermelon.

I then adhered the 2025 Square Tear away to the bottom with enough room to sit in the Walnut Wood Stand. 

Gus and Gertie Calendar Supplies

So there we are friends, a couple fun projects using the new 2025 Calendar release at Taylored Expressions. I hope you enjoyed my post today. Be sure to stop by the Taylored Expressions Blog to see more inspiration from the Creative Team. Thanks for stopping by and Big Paper Hugs!